Ruby
Ruby
 Golang
 .Net
.Net
 MCP
MCP
 C++
C++

Flowise is an open-source low-code tool to create custom LLM chatflows and AI agents. It's been growing really fast and is backed by Y Combinator. If you're looking to build your own LLM app quickly, this is one of the best tools available.
While Flowise is a low-code tool with a simple drag-and-drop interface, it isn't super intuitive getting started. In this tutorial, I'll walk you through setting up a basic Chatflow with an agent than can search Google using SerpApi.
To follow along, you'll need a free SerpApi account. All free accounts get 100 free searches per month. Sign up here: https://serpapi.com/users/sign_up
Flowise Setup
Flowise is open-source and must be installed somewhere before you can use it. Since this is a quickstart tutorial, I recommend installing it on your local machine. Once you're more familiar with the tool and interested in using Flowise in production, check out the various deployment options.
For now, we can stick to the quickstart setup Flowise describes in their getting started guide. As noted in their guide, Flowise requires Node.js to be installed.
Pre-requisite: ensure NodeJS is installed on machine. Nodev18.15.0orv20and above is supported.
These versions are likely to change in the near future so make sure you check the guide and update your Node version.
Run the following command to install Flowise.
npm install -g flowiseRun the below command to start a Flowise server.
npx flowise startOpen http://localhost:3000 and you should get Flowise.
Create a Flowise Chatflow
Let's jump into it.
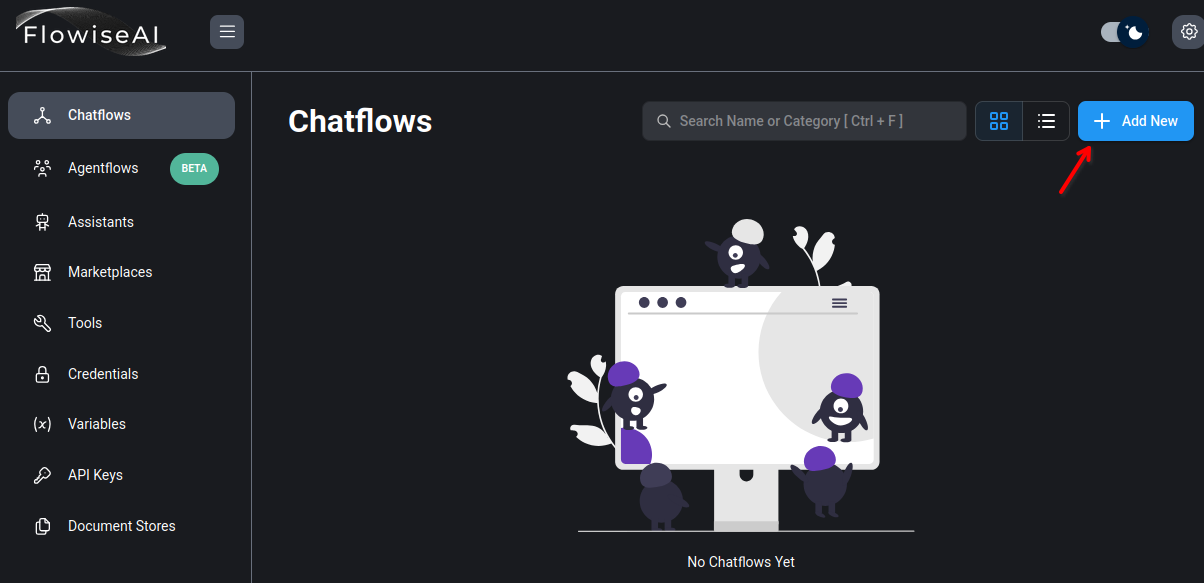
Select "Chatflows" from the side menu and then click "+ Add New" to create your first Chatflow.
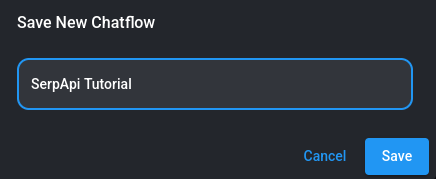
Give your Chatflow a name right away by hitting the save icon in the upper right corner.
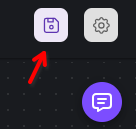
I'll call mine "SerpApi Tutorial".
A quick note about saving: Flowise will not save your work automatically! Make sure you're saving your work regularly or you could risk losing your progress.
Add an Agent
Next, we'll add an Agent to be our decision maker. Click the "+" button under your Chatflow's name to add your first node.

Make sure "LangChain" is selected. It should be since it's the default. Then search for "conversational agent".
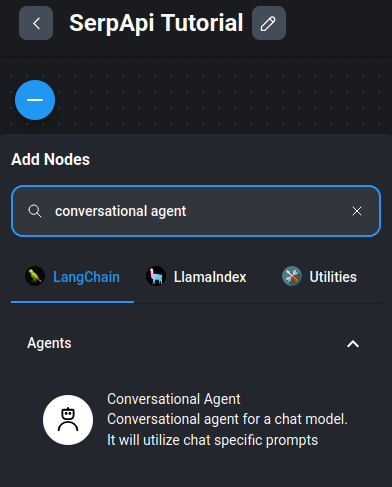
You'll need to drag the node from the search results onto the canvas.
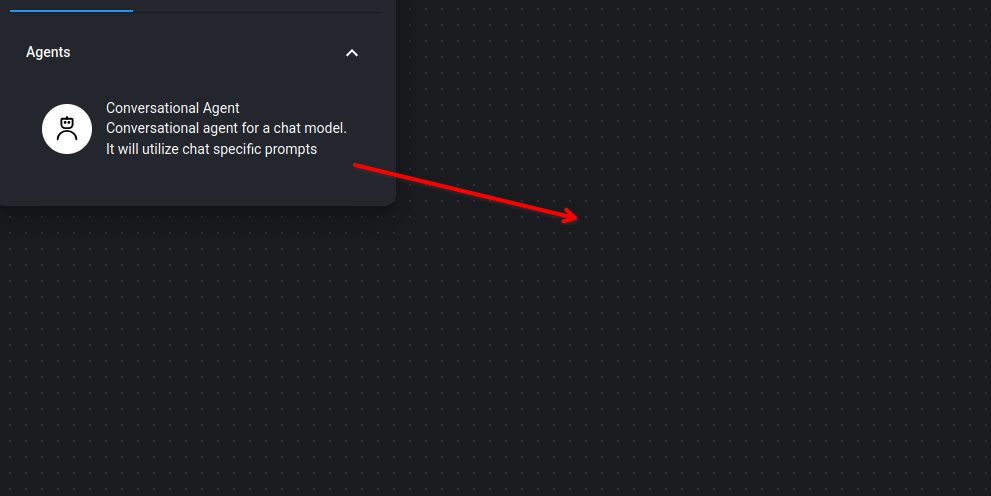
You should see the below node on the canvas. No configuration is required yet.

Hit save and move on.
Add OpenAI for Chat
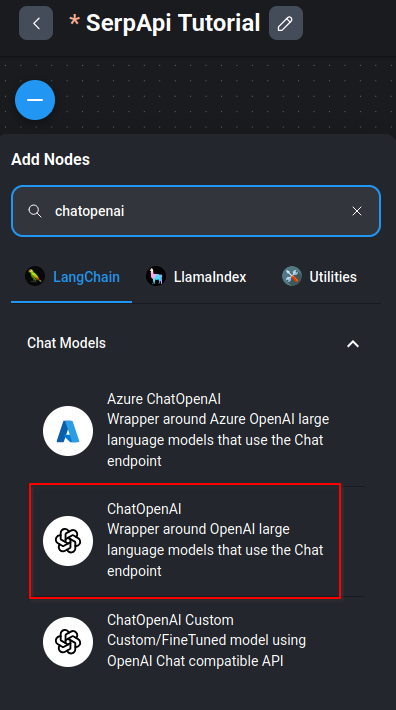
With an agent in place, we now need a Chat Model to actually chat with. We'll use the ChatOpenAI node that uses OpenAI's Chat API.
Search for "chatopenai" and drag this node onto the canvas. Ideally put it to the left of the Conversational Agent.
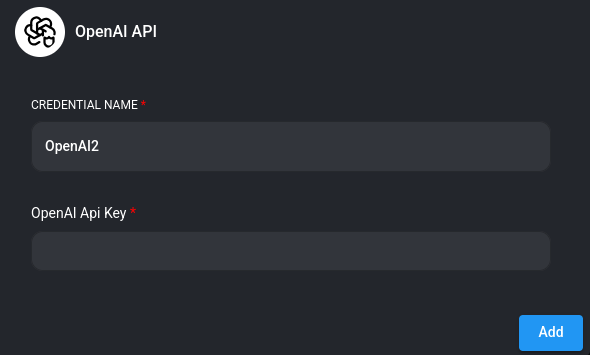
You'll need to add your OpenAI API key here. Click the dropdown menu and create a new credential.

Paste your key into the pop up and hit "Add".
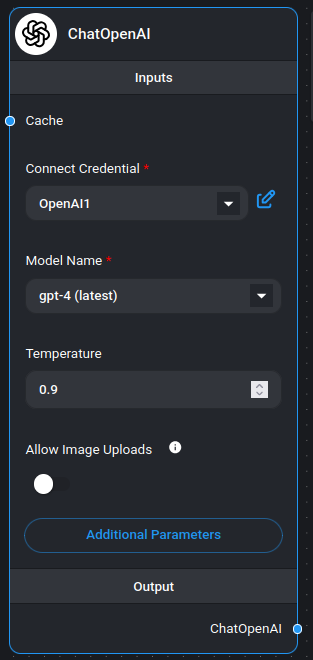
You can select whatever OpenAI model you prefer. I'll test with gpt-4 (latest).
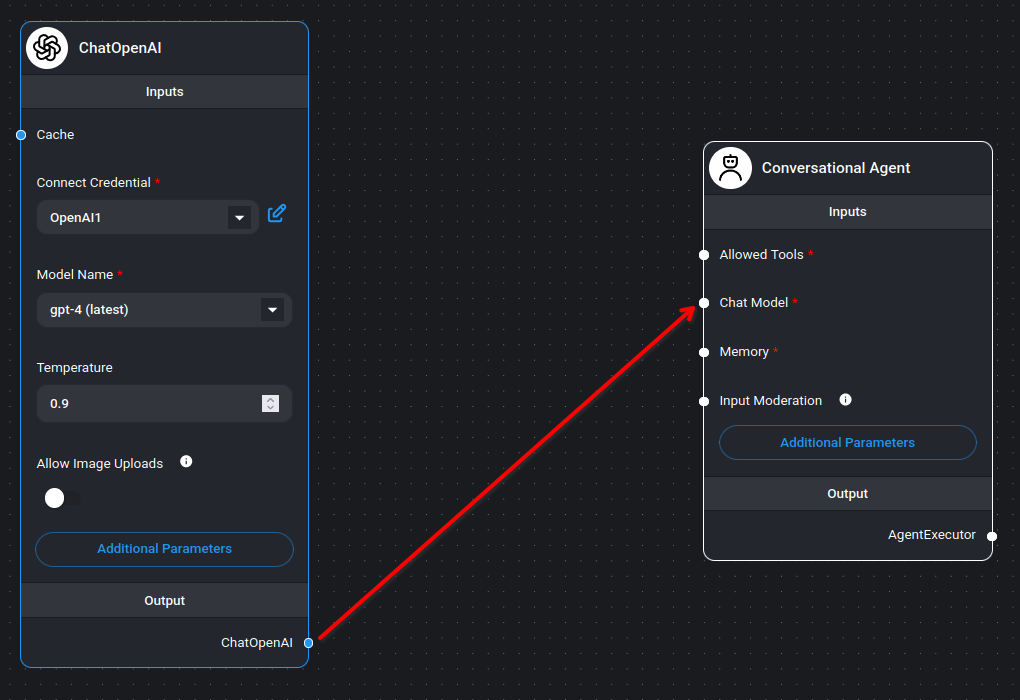
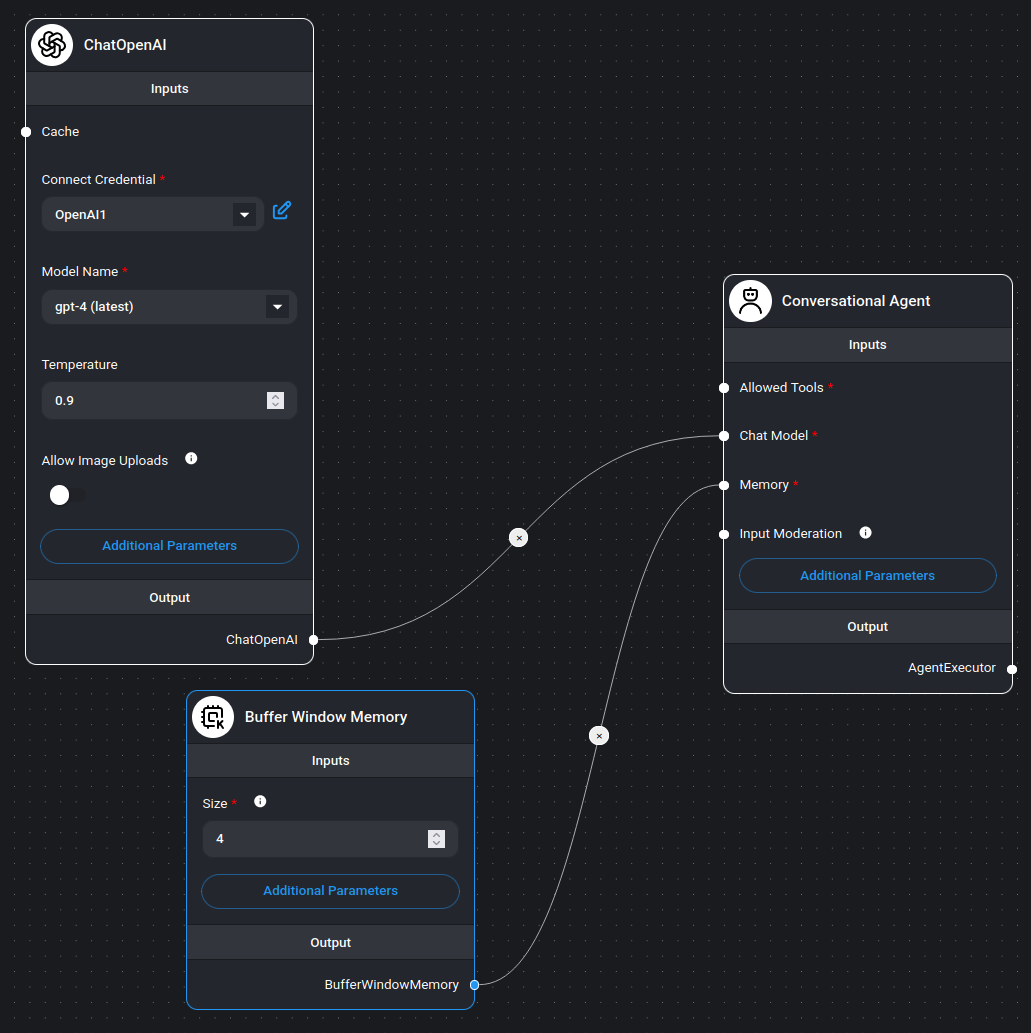
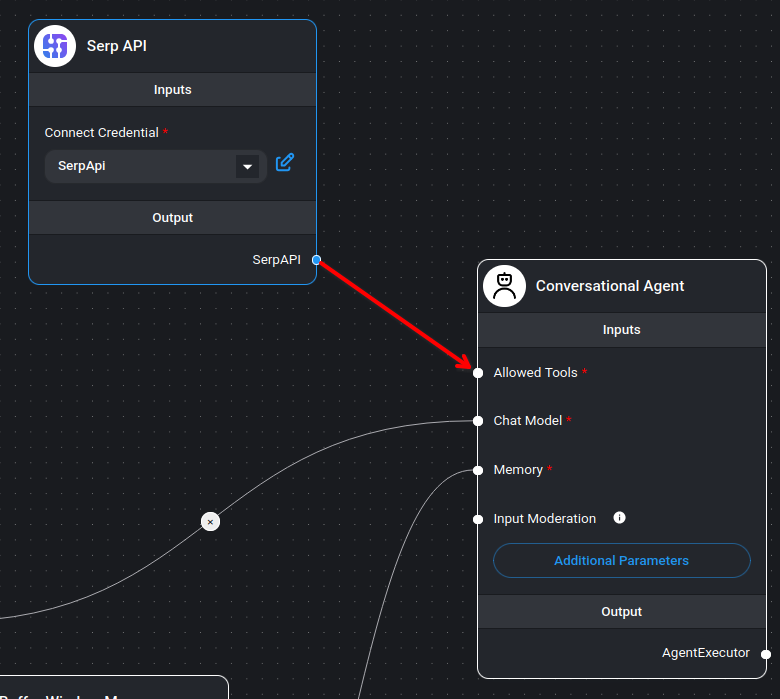
Nodes are linked in Flowise by connecting an appropriate output to an appropriate input in another node.
In this case, we can click and drag the little dot in the "Output" of the ChatOpenAI node and connect it to the "Chat Model" dot in the "Inputs" of the Conversational Agent node. Follow the red arrow.
Your canvas should look like the below screenshot if connected correctly.
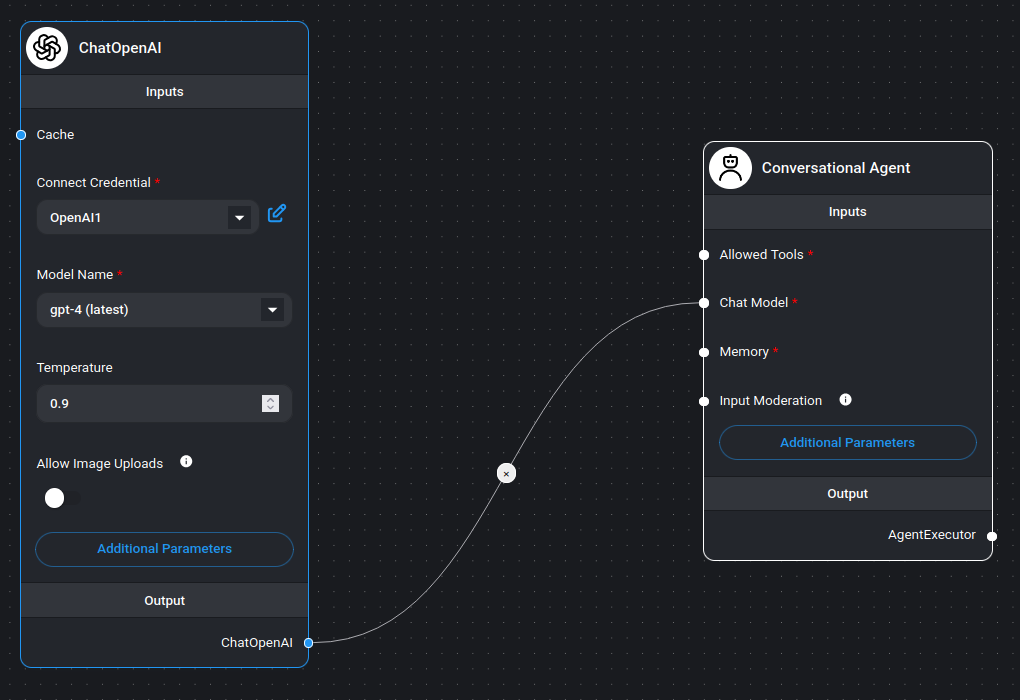
Hit save again.
Add Memory
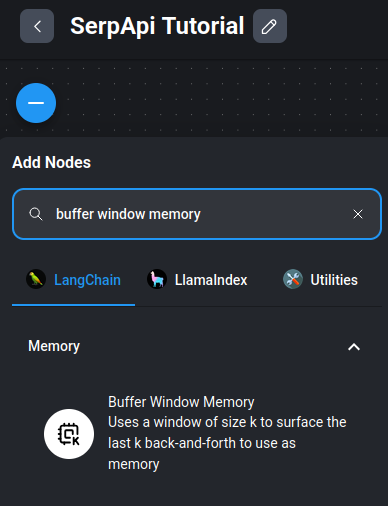
We want our Chatflow to have a bit of memory so it can remember past messages in the conversation. Add another node and search for "buffer window memory".
Drag the Buffer Window Memory node to the canvas.
You can leave the memory size default of 4 for the purposes of this tutorial. Connect it to the Conversational Agent by clicking and dragging from the "Output" dot to the "Memory" input of our agent. Follow the red arrow again.
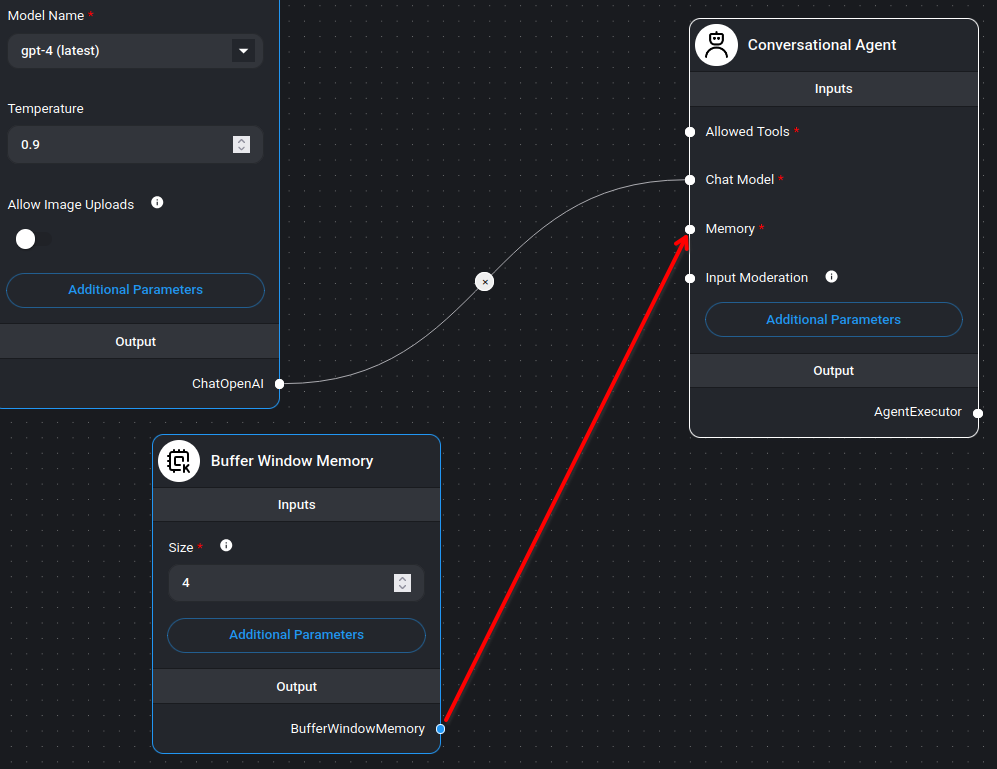
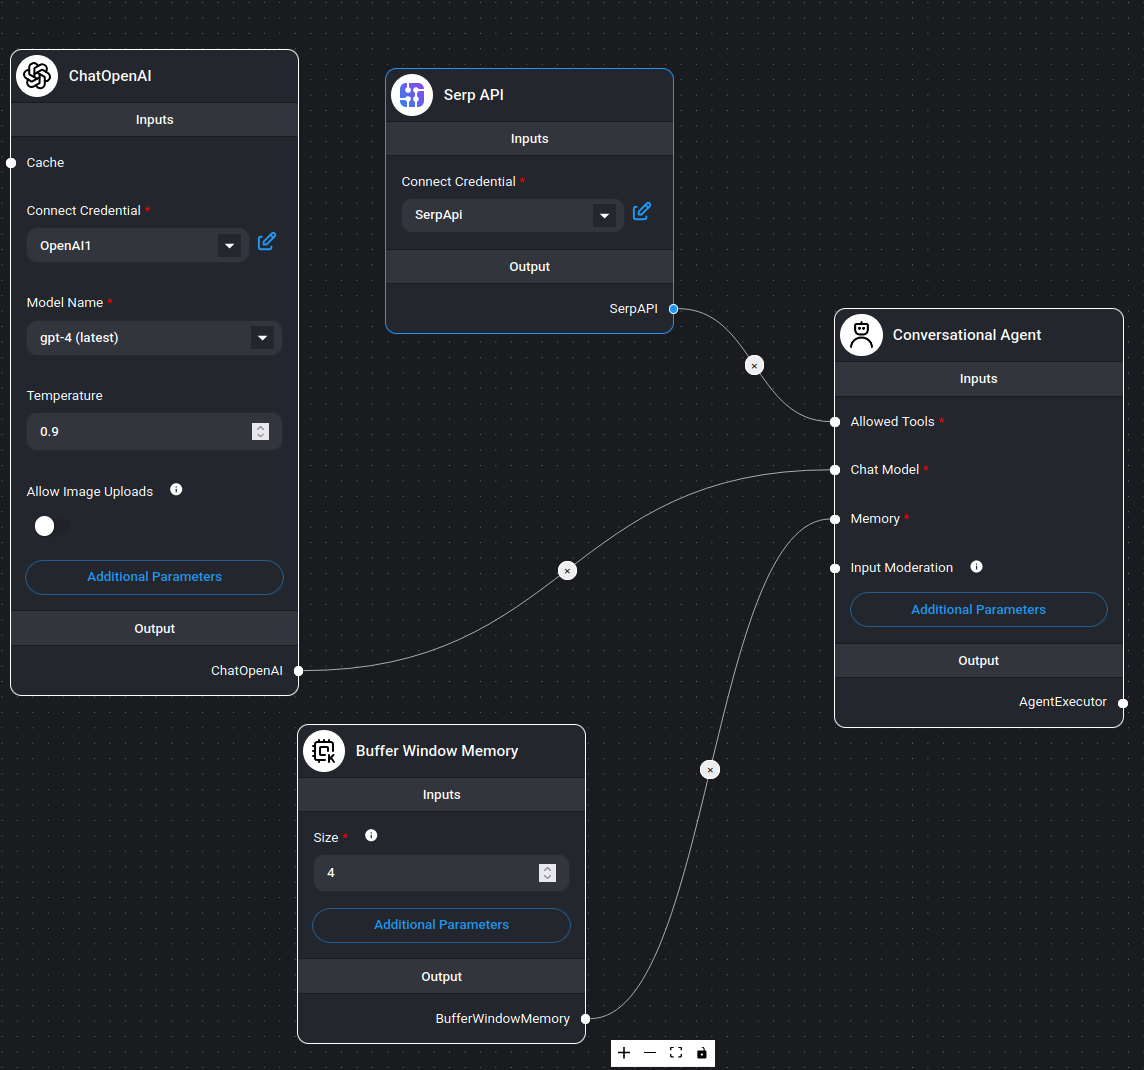
With memory added, your canvas should look like this:
Make sure to save this.
Add SerpApi as a Tool
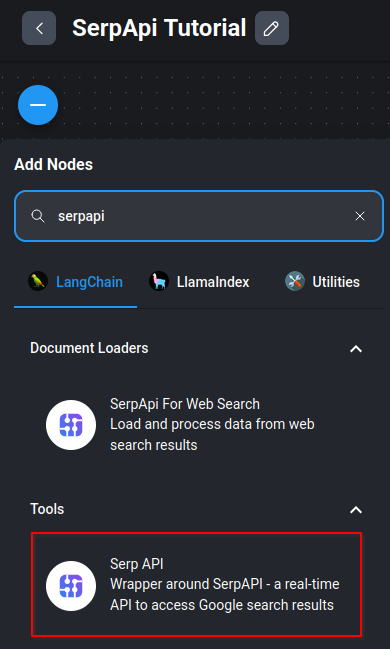
Finally we can hook up SerpApi to enable real-time search results from Google. Add another node and search for "serpapi".
Two nodes will appear. Select the one under "Tools" with the unfortunately incorrectly written name of "Serp API". You may guess this wasn't created by our team, but works great for our Google Search API anyway.
Drag this node to the canvas.
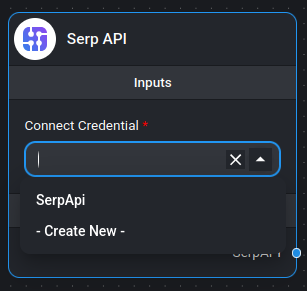
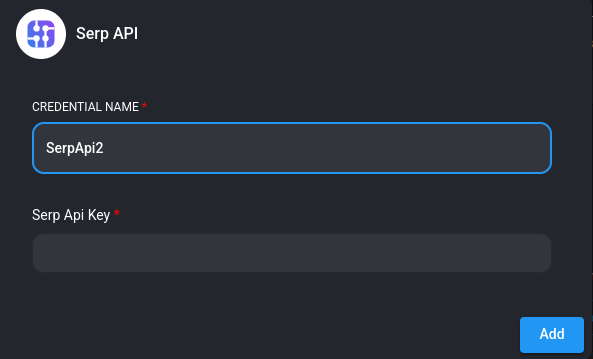
Similar to OpenAI, you'll need to add an API key by creating a credential.
Paste your key and hit "Add".
Connect the SerpApi tool to the agent by dragging the SerpApi output to "Allowed Tools" under the agent's inputs as shown with the red arrow.
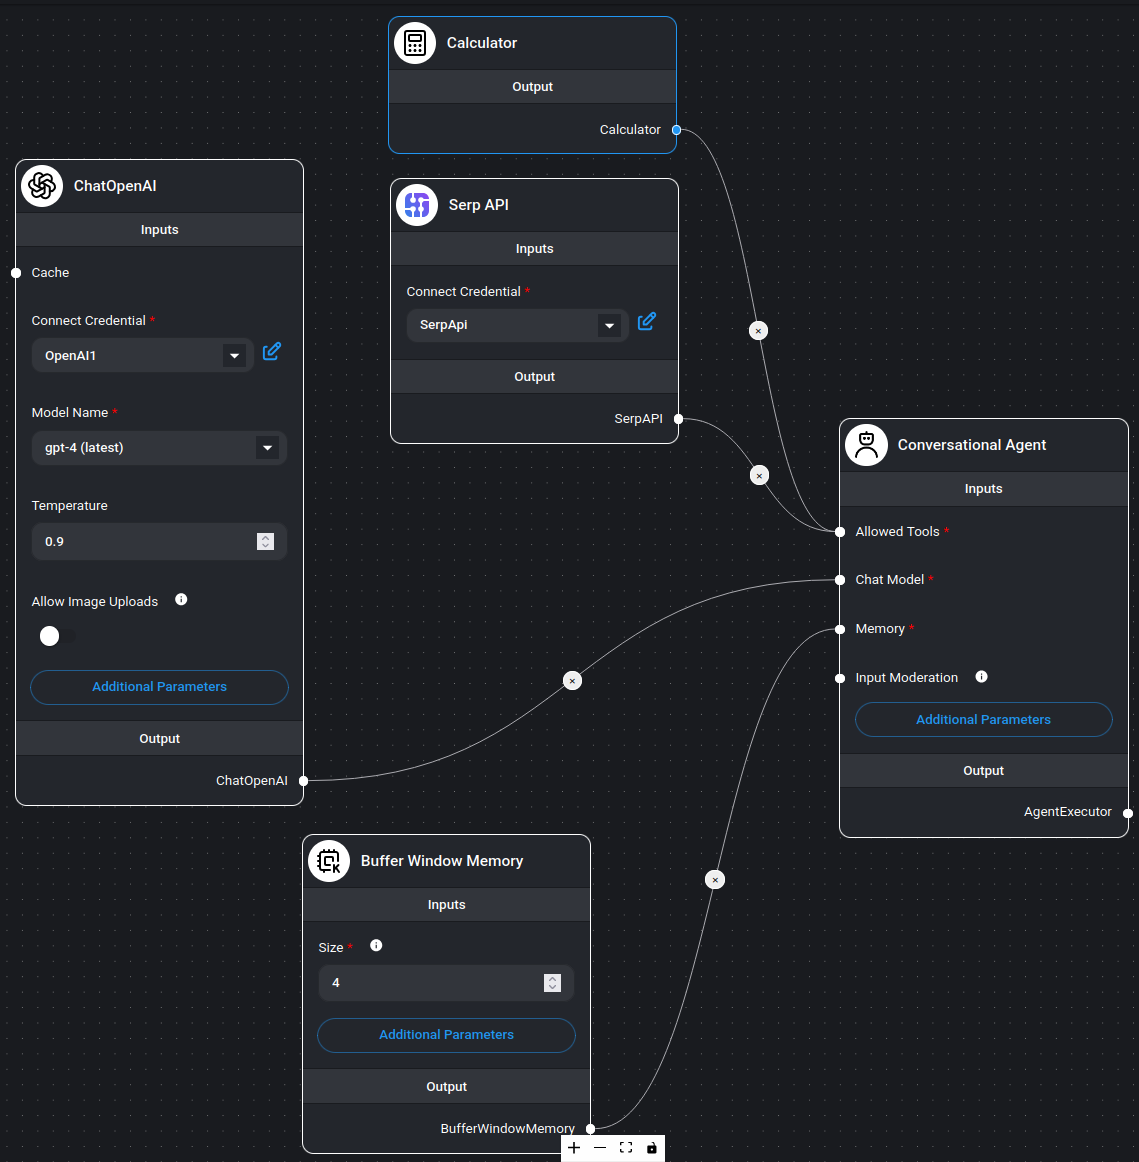
Your setup should now look like this:
As one last measure, let's add a Calculator tool to make our Chatflow a little bit more powerful. Fortunately, we can connect multiple tools to our agent.
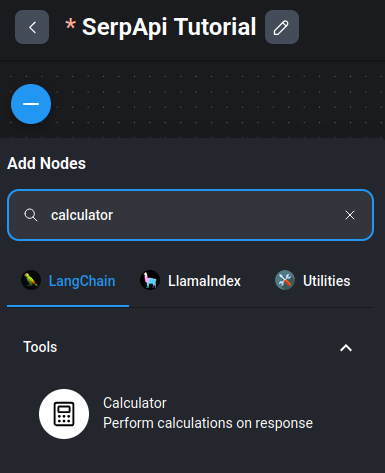
Search for "calculator" and drag this to the canvas.
Connect it to "Allowed Tools" on the Conversational Agent node.
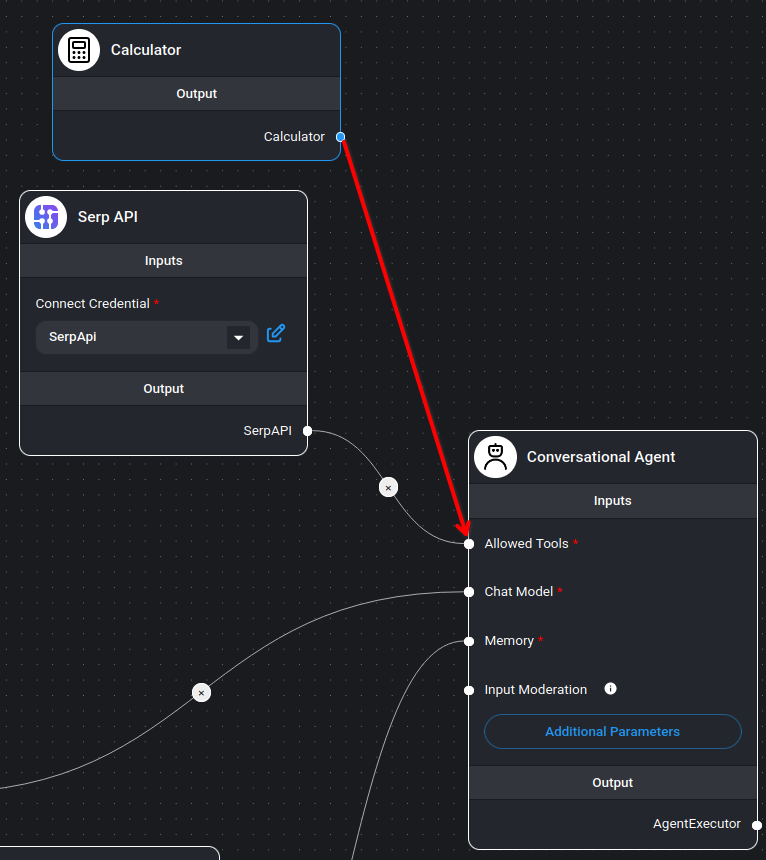
The final configuration should resemble the below screenshot.
This is now the most important time to save because we're ready to try this out. Chat won't work unless you save.
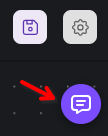
Click the purple chat button in the upper right to open the chat window.
The chatbot will greet and prompt you for a question. I'll ask about the weather in Bari, Italy.
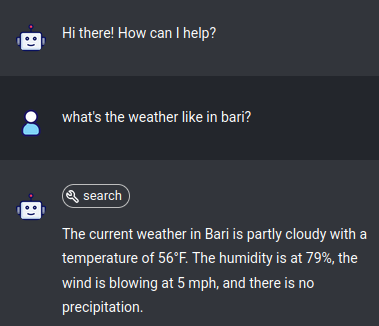
Nice! This worked perfectly. Note the icon above the answer with a wrench and search. This indicates that our SerpApi search tool was used to help process this request. If it's missing, it means the agent processed your question only using OpenAI's own bank of knowledge.
We can also ask follow up questions like "will it be warmer tomorrow?" and our chatbot will understand that "it" refers to the weather in Bari.
We can also ask it what the weather is in Celsius.
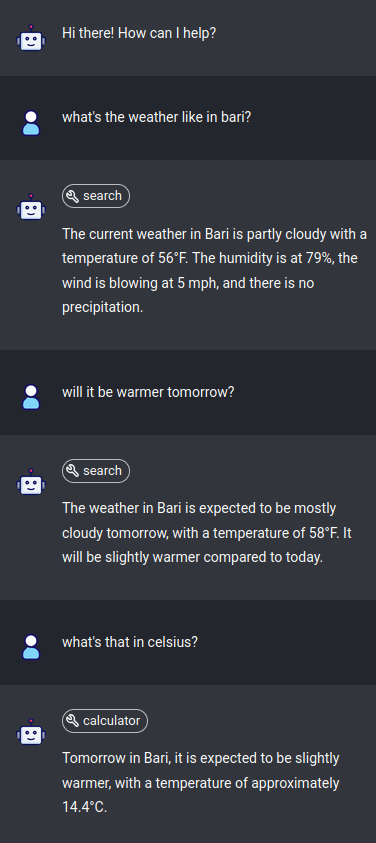
Note how the last question was answered with the calculator tool instead of SerpApi. Our agent made the wise decision to take the Fahrenheit temperature and send it to the calculator for conversion to Celsius. Pretty smart.
As a final curiosity, we can check our SerpApi search history to see what exactly our agent searched for. We can see "current weather in Bari" was the first search. Then to answer my question about tomorrow, it searched for "Bari weather forecast for tomorrow".

That should do it for this tutorial. I'll leave it to you to get more creative than I did in this post. If you came up with anything interesting using SerpApi in Flowise, please let me know at alex@serpapi.com
Hat tip to Leon van Zyl for helping me make sense of Flowise.
Want to Import This?
If you'd like to skip all this manual configuration, you can download the below JSON file and import it into an empty Chatflow. All you'll need to do is configure your own SerpApi and OpenAI connections.