Ruby
Ruby
 Golang
 .Net
.Net
 MCP
MCP
 C++
C++

n8n is one of the most popular no-code/low-code platforms out there. I've written about n8n once before to cover how to use their generic HTTP node to use our APIs to scrape Google search results. You can find that here:

Today, we'll build an AI agent using the SerpApi tool that ships with all n8n installations. In just a few minutes and clicks, you can have a powerful AI agent that can answer questions requiring live Google search results.
Let's get into it.
Note: This guide previously used the unofficial SerpApi n8n node. It's been updated to use our officially maintained node.
Initial Setup
n8n is an open-source platform that you can install and run on your local machine or any server. I'll go for a simple local installation.
You can also opt for n8n's cloud version. This comes with a two-week free trial. After that, you pay $20 per month.
Railway is another popular option and can be run for as little as $5 per month.
Next, you'll need API keys for SerpApi and OpenAI.
You can sign up for SerpApi and get 100 free searches per month here: https://serpapi.com/users/sign_up
Once you're registered, you can grab your SerpApi API key here: https://serpapi.com/manage-api-key
For OpenAI, create an account here: https://platform.openai.com
Unfortunately, OpenAI no longer gives away free credit on signup. As a new user, you'll be able to run a few API calls for free to start, but this won't get you very far. I recommend adding the minimum $5 of credit to your account.
AI Agent Creation
Navigate to the n8n Overview page and click "Create Workflow".

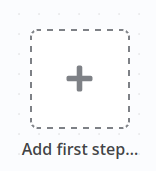
You'll be presented with a blank workflow editor where you can add your first step.
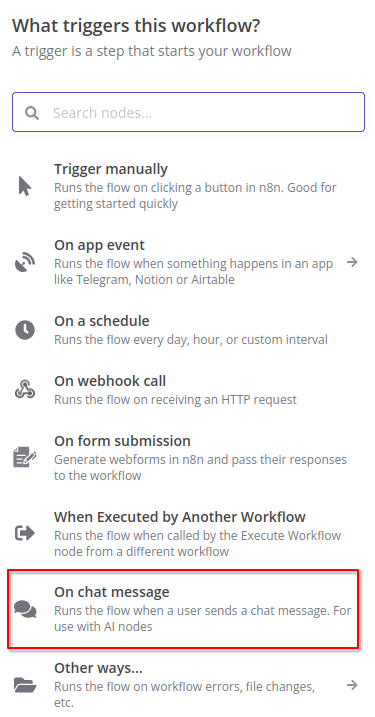
We need to start the workflow with a trigger that kicks off the automation. We'll select "On chat message".
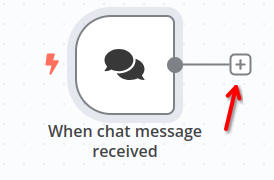
Your workflow should now have a trigger. Hit the "+" button to add the next node.
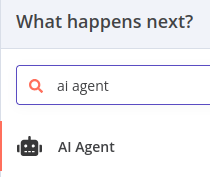
Here we'll add our agent. Search for "ai agent" and add the "AI Agent" node.
We can leave everything as default except we'll add a basic initial prompt. Click "Add Option" and then select "System Message".
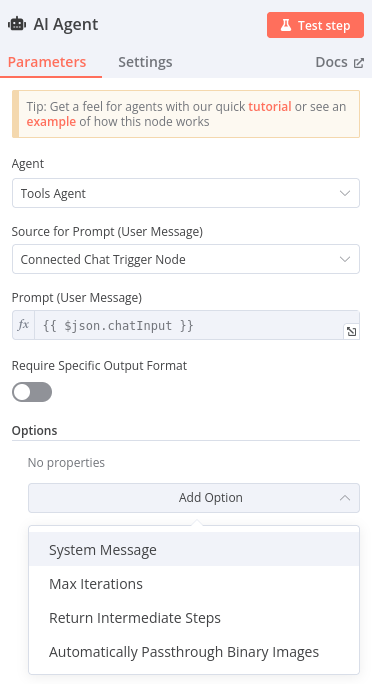
Feel free to put whatever you want here. I'll go with a very generic message.
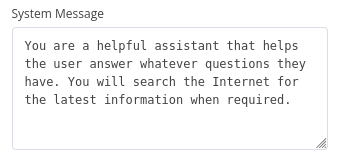
You are a helpful assistant that helps the user answer whatever questions they have. You will search the Internet for the latest information when required.We can't quite test this yet because the AI Agent requires a connection to a chat model. Click the "Chat Model" "+" button to add one.
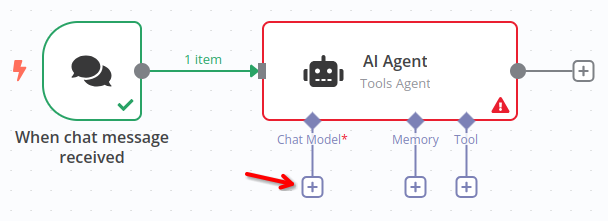
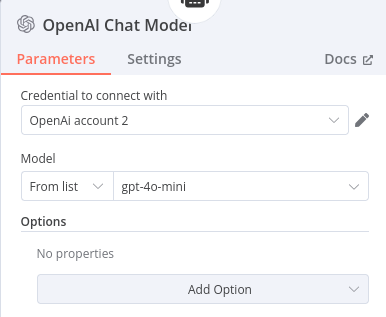
We'll use OpenAI's model.
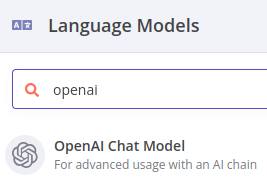
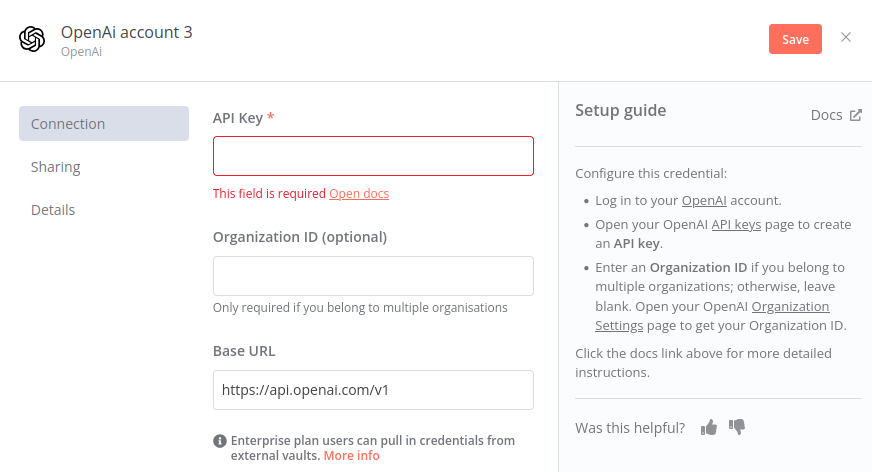
Here we'll add our OpenAI API key. Click "Create new credential" if you don't have this saved in n8n already.

The form to create credentials is fairly straightforward. You only need to paste in your OpenAI API key. Follow the links n8n provides if you have any doubts on where to get your key.
I'll stick with default model of "gpt-4o-mini".
Now, we can give our agent a test by clicking the "Open chat" button.
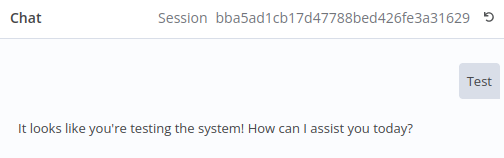
Looks good!
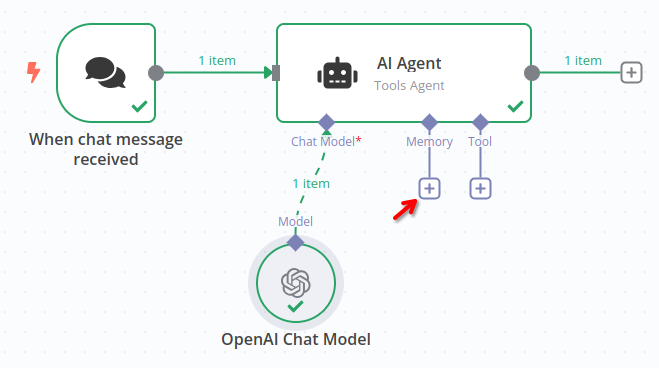
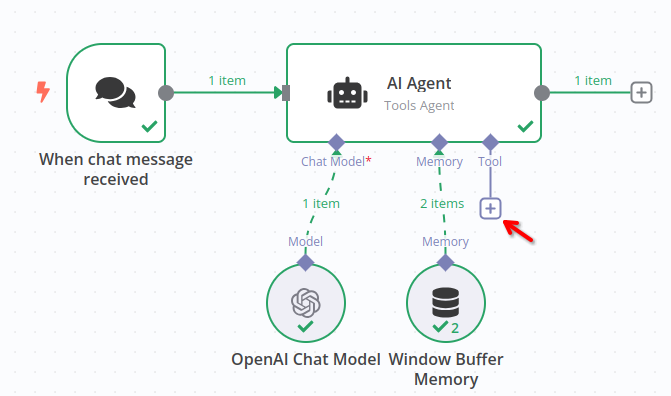
Assuming your workflow now looks like the below screenshot, we give our agent some memory to remember past messages. Click the "+" for "Memory".
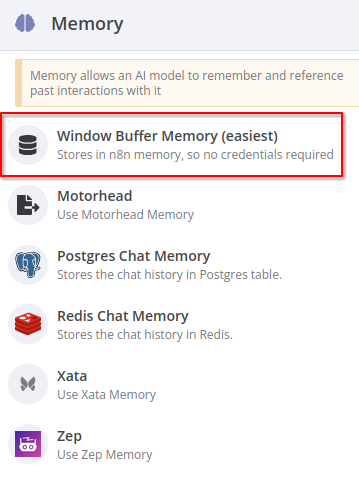
Let's opt for the simplest "Window Buffer Memory" option since it requires no credentials or complicated setup.
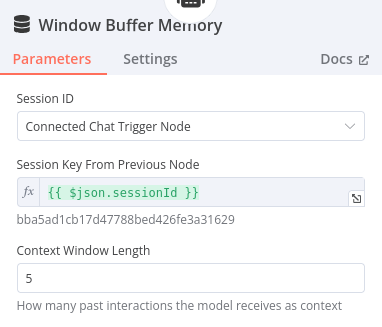
We can leave all the default memory settings.
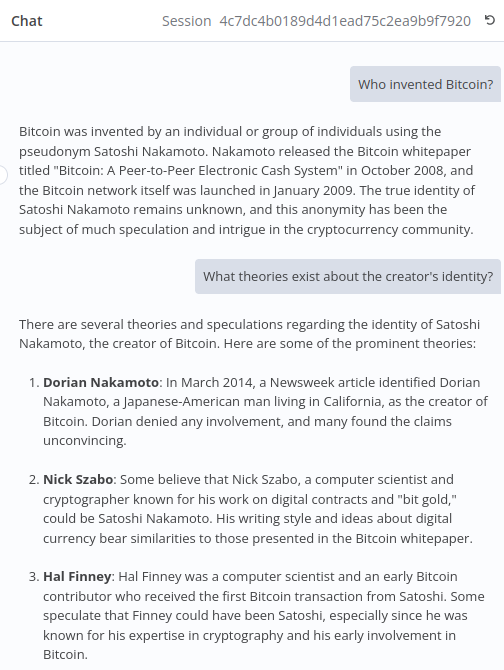
Now if we test the chat, we can ask follow up questions that rely on context from past interactions.
For example, I've asked "Who invented Bitcoin?" and then I've asked a follow up question that relies on the context of the previous question and answer.
Add SerpApi for Current Google Search Results
So far our agent can only respond with information available to ChatGPT/OpenAI. To get the most current information, we'll add the SerpApi tool.
Hit the "+" button for "Tool".
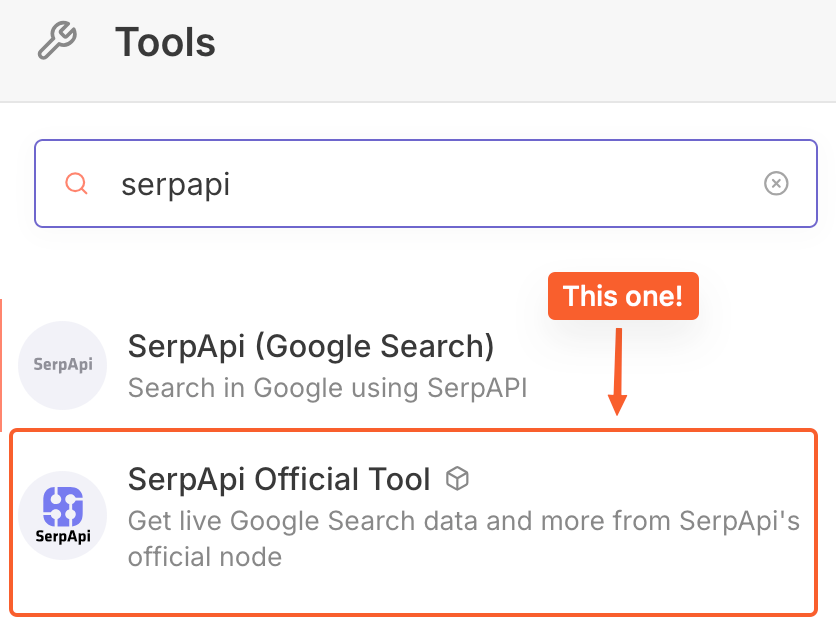
Search for "serpapi" and select the SerpApi Official Tool. You're welcome to use the SerpApi (Google Search) tool if you wish, but this is not maintained by us.
Similar to OpenAI, the first thing we need to do is add our SerpApi API key as a credential.
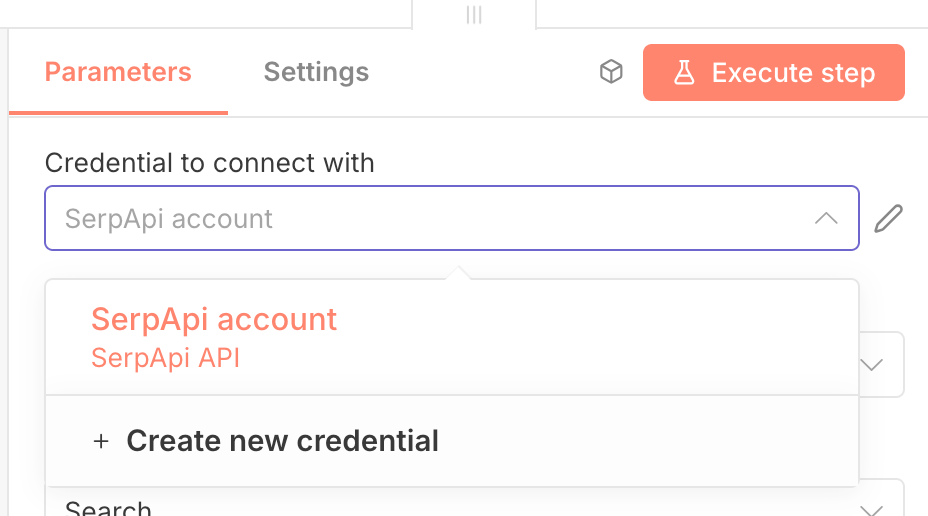
Paste in your API key and hit "Save".

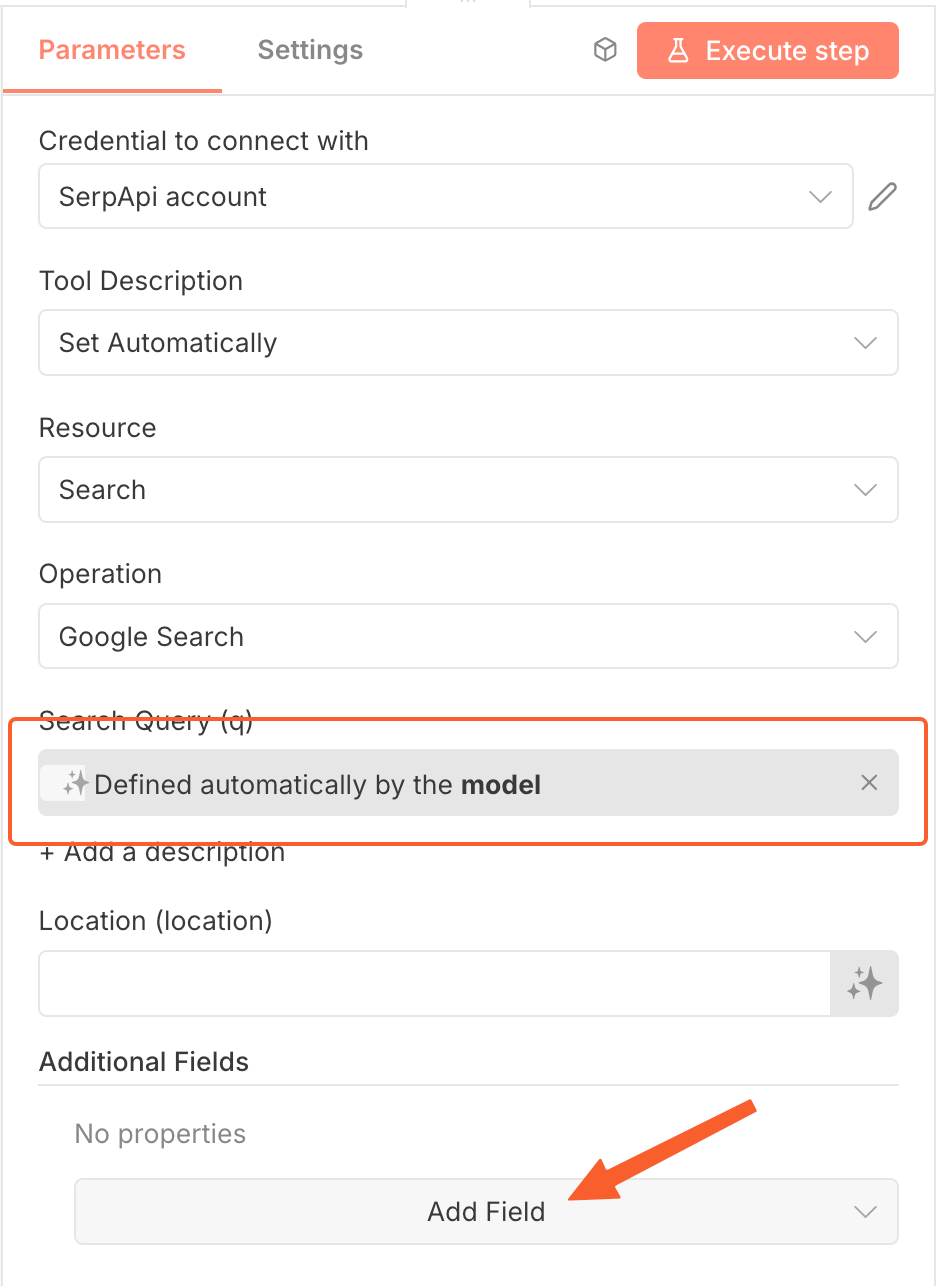
We'll configure two things for this node. First, we'll allow our model to define the Search Query (q) parameter. Follow the arrow in the screenshot and click that button to let the model define the parameter.
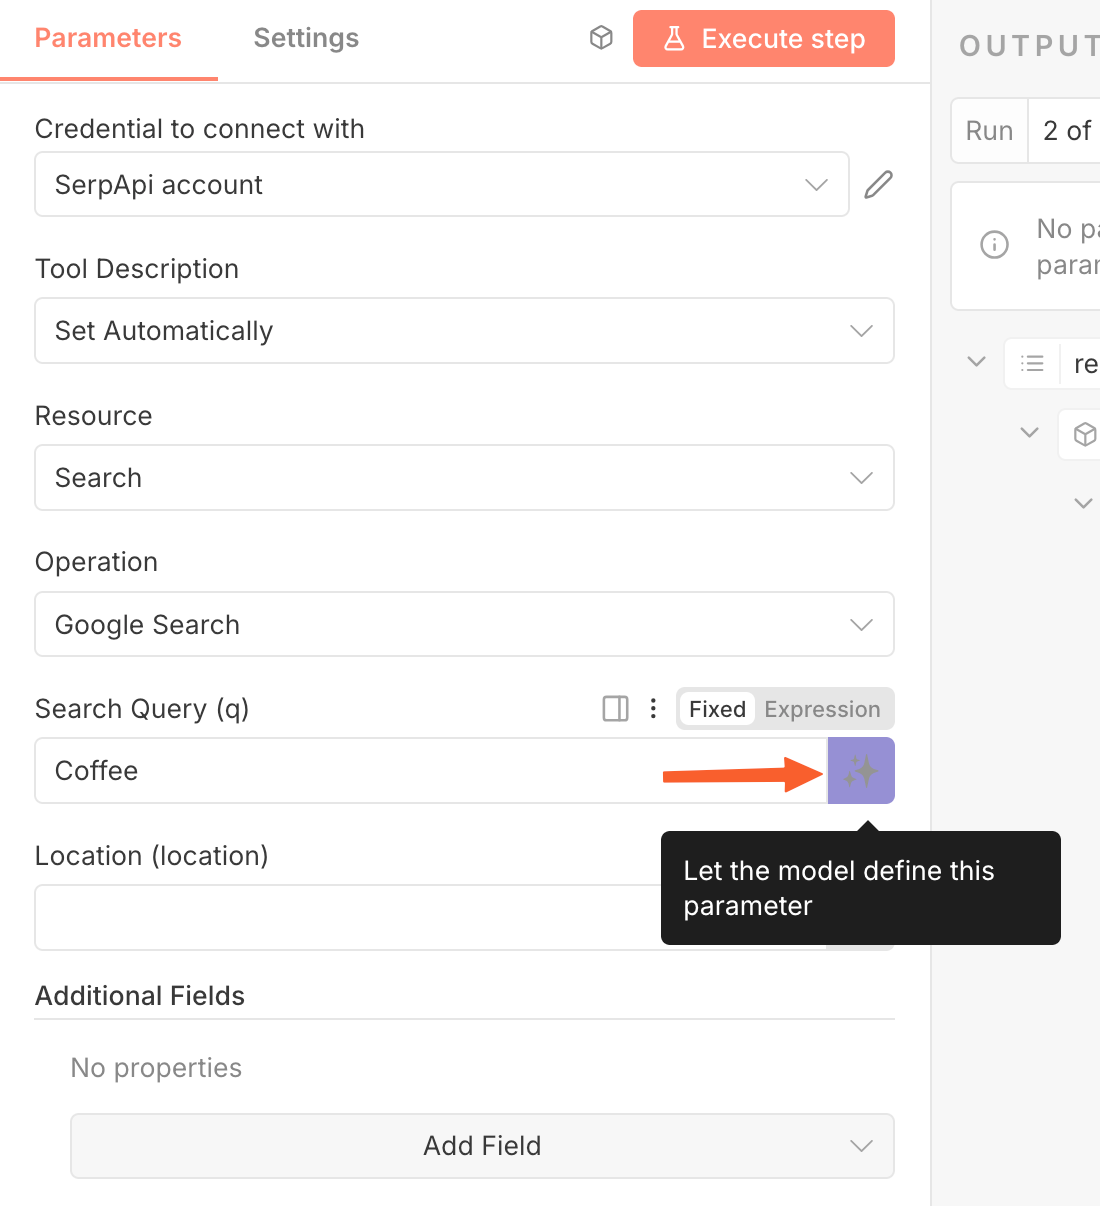
If successful, the Search Query (q) parameter should be populated with "Defined automatically by the model."
The next step is technically optional but highly recommended to reduce how many OpenAI tokens you use processing SerpApi responses. Our tool, by default, returns the full SERP response in JSON. This is almost always more data than you actually need so you'll be wasting tokens. We'll solve this by only selecting the fields we need.
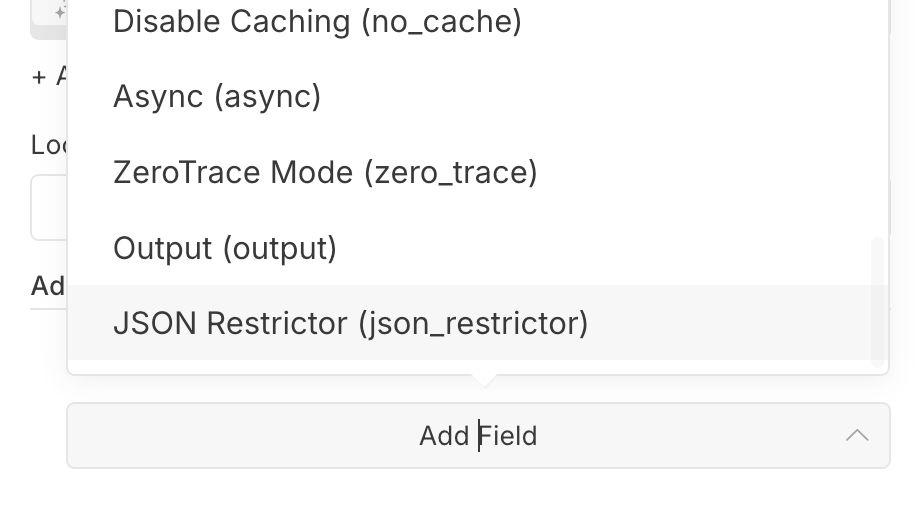
Click "Add Field".
Then select JSON Restrictor.
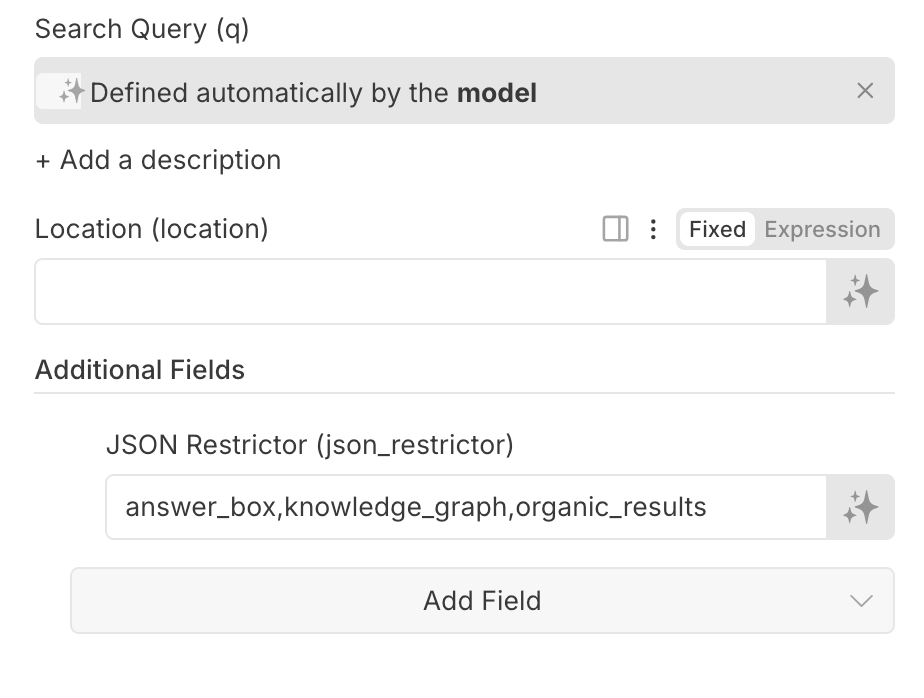
I'll set this parameter to answer_box,knowledge_graph,organic_results. You can customize this to whatever is relevant to your use case.
You can also restrict within these fields to, for example, only grab the first 3 organic results or only certain fields within an object like organic results. Check our documentation here for syntax examples: https://serpapi.com/json-restrictor
Let's add one more tool to allow our agent to perform arithmetic with the Calculator tool.
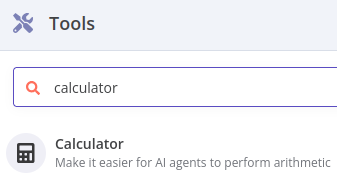
The calculator doesn't require any configuration.
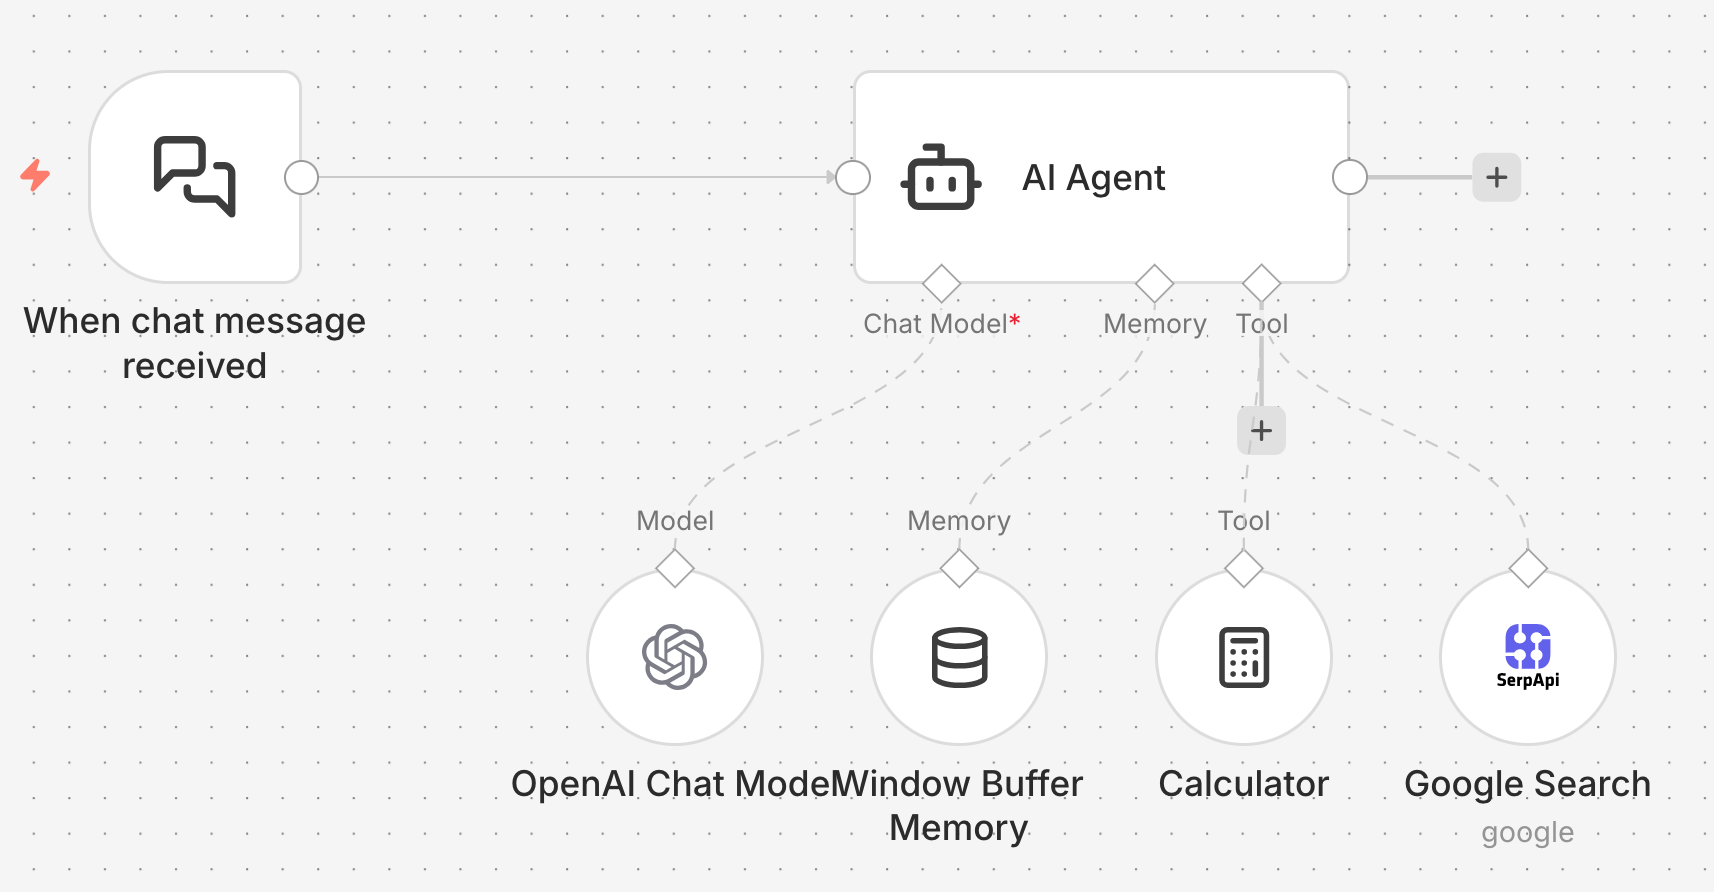
Our workflow now looks like this:
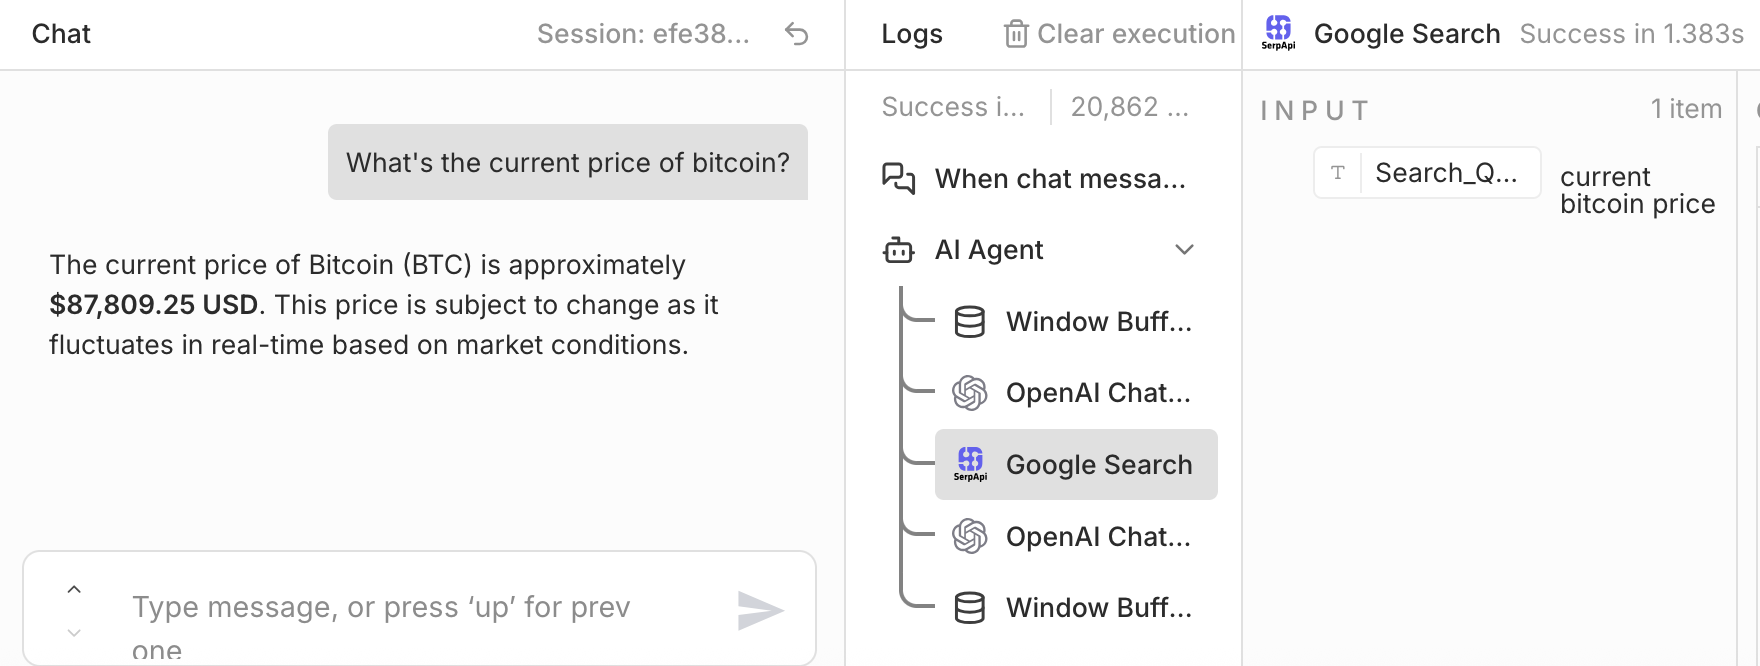
Now if we ask a question that requires current information, we can see in the agent's log that it uses SerpApi to query "current Bitcoin price" and serves us the correct answer!
We can also ask follow up questions requiring the context and a calculation. With this follow up, we can see the Calculator tool is being used, but the SerpApi tool is not since we already have Bitcoin's latest price in memory.

We'll leave it here for now. I hope you found this useful.
There's lots more you could do such as send the response messages to another system or you could connect other SerpApi APIs for Google Maps, Google Jobs, Amazon, and many more. Here are some other SerpApi-n8n guides you may find helpful:


If you build anything cool with our n8n node or need some help, let us know at contact@serpapi.com!
Want to Import This?
If you want to skip all this manual work, you can import the workflows exactly as I've built them in this tutorial. You can then jump in and modify things as you wish. Of course, you'll need to configure your SerpApi and OpenAI credentials in order to run it yourself.
To import one of these workflows, create a new n8n workflow and press the "..." button in the upper right. Then select "Import from File."

Select the JSON file you downloaded from above. Then add your SerpApi and OpenAI credentials to finalize the import.