 Ruby
Ruby
 Golang
 .Net
.Net
 MCP
MCP
 C++
C++
Tracking organic positions on search engines is one of the main concerns of SEO. SerpBear is a SERP position tracking tool that will help you track how well you are doing in Google search. This post will take you through all the steps to start tracking your keywords with your own SerpBear instance on Coolify.
What is SerpBear?
SerpBear is an Open Source search engine position tracker. It allows you to track your or your competitors' keyword positions in Google and to also get notified of these changes. Some of the features include:
- Unlimited keywords: You can add as many domains and keywords to track as you want. SerpBear will use a 3rd-party API such as SerpApi for actual tracking behind the scenes.
- Flexible scraping strategy: Choose your scraping strategy to control how many Google pages are checked for each domain. It's built to handle the Google's 2025 removal of the
num=100parameter. - Email notification: Get notified of all your keyword position changes via email with at the frequency of your choosing.
- Keyword research: You have the option to do keyword research with the integration of Google Ads.
- Google Search Console: You can see the actual visit count and impressions for each keyword. Discover new keywords thanks to direct integration with Google Search Console.
- Exports: Export your domain keyword data in CSV files.
If you want to track your keywords, but don't want to use SerpBear, have a look how to do your custom SERP tracking in JavaScript.
What is Coolify?
Coolify is an Open Source Platform as a Service (PaaS) that will help you self-host SerpBear or any other self-hostable software out there. You can also deploy applications, databases, and one-click services.
I am assuming you already have Coolify installed on your server. If you don't, you can learn how to deploy Coolify on any VPS or take advantage of Coolify Cloud version where you don't have to host Coolify yourself.
Signing up for SerpApi
SerpApi is a service providing access to various SERP results with a simple API. SerpBear is free and open source software, but it uses SerpApi to do the heavy lifting of querying and parsing Google results. SerpBear cannot do this on its own due to the nature of managing proxies and solving CAPTCHAs, but you can still start with free searches to set everything up and see it working before committing to a paid plan.
So first of all, sign up for SerpApi and then note your private API key from serpapi.com/manage-api-key page:
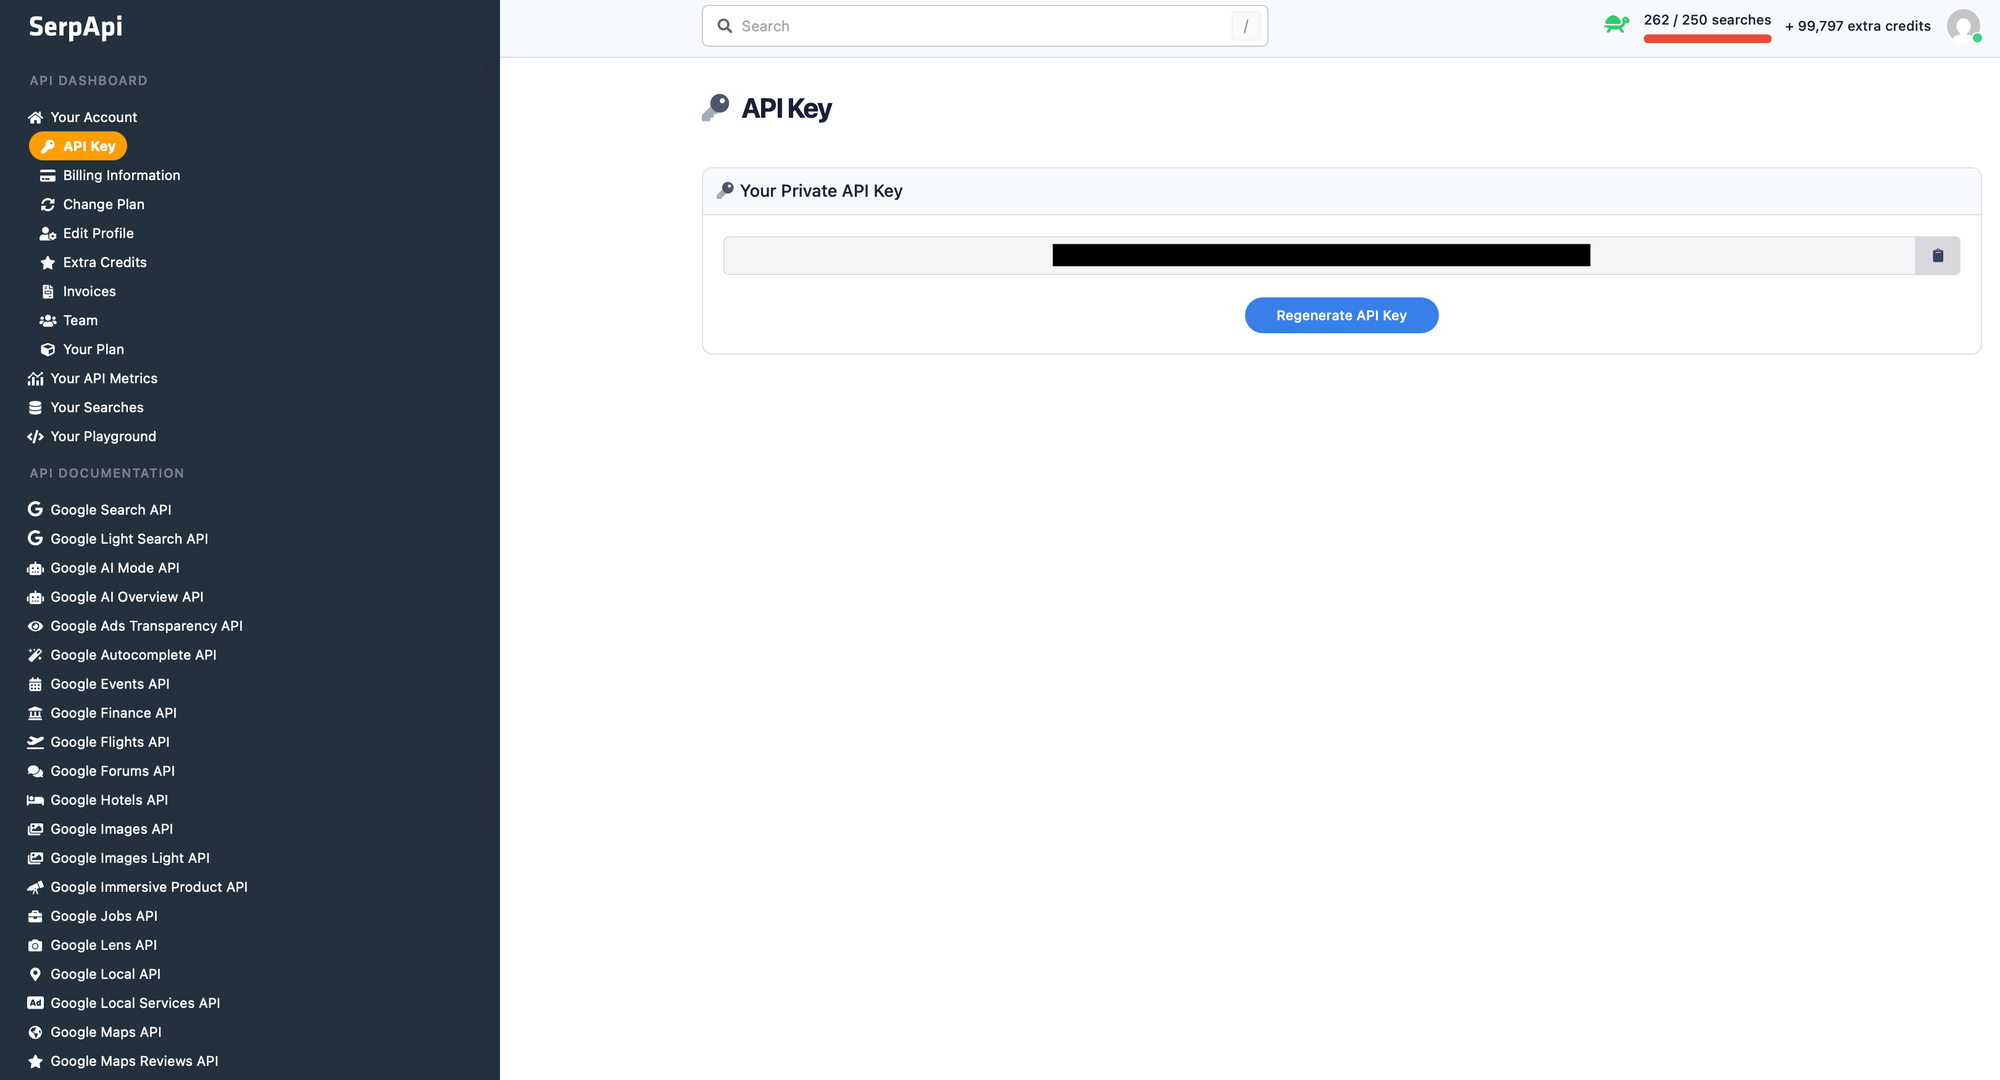
We are going to use this API key from SerpBear, but you can also use it to integrating one the many SerpApi SDKs to build anything needing SERP API.
Configuring DNS
Head over to your domain registrar console and set the DNS A records for domains or subdomains you want to use for SerpBear:
coolify.example.com -> 178.104.25.112
serpbear.example.com -> 178.104.25.112
Choose "A" type records to directly connect a domain name or subdomain to the IP address (replace the values, the above is just an example). If you'll run SerpBear on the same host as Coolify, the IP address remains the same for both.
Adding SerpBear
If your Coolify instance is fully set up, it's time to add SerpBear. To run a new Coolify project head over to Projects (from the left menu) and click on + Add next to the Projects headline. Give it a name and description.
From Projects, click on + Add Resource next to your project name or select your project first and click on + New next to Resources. From here, we can select Docker Compose Empty under Docker Based on the right:
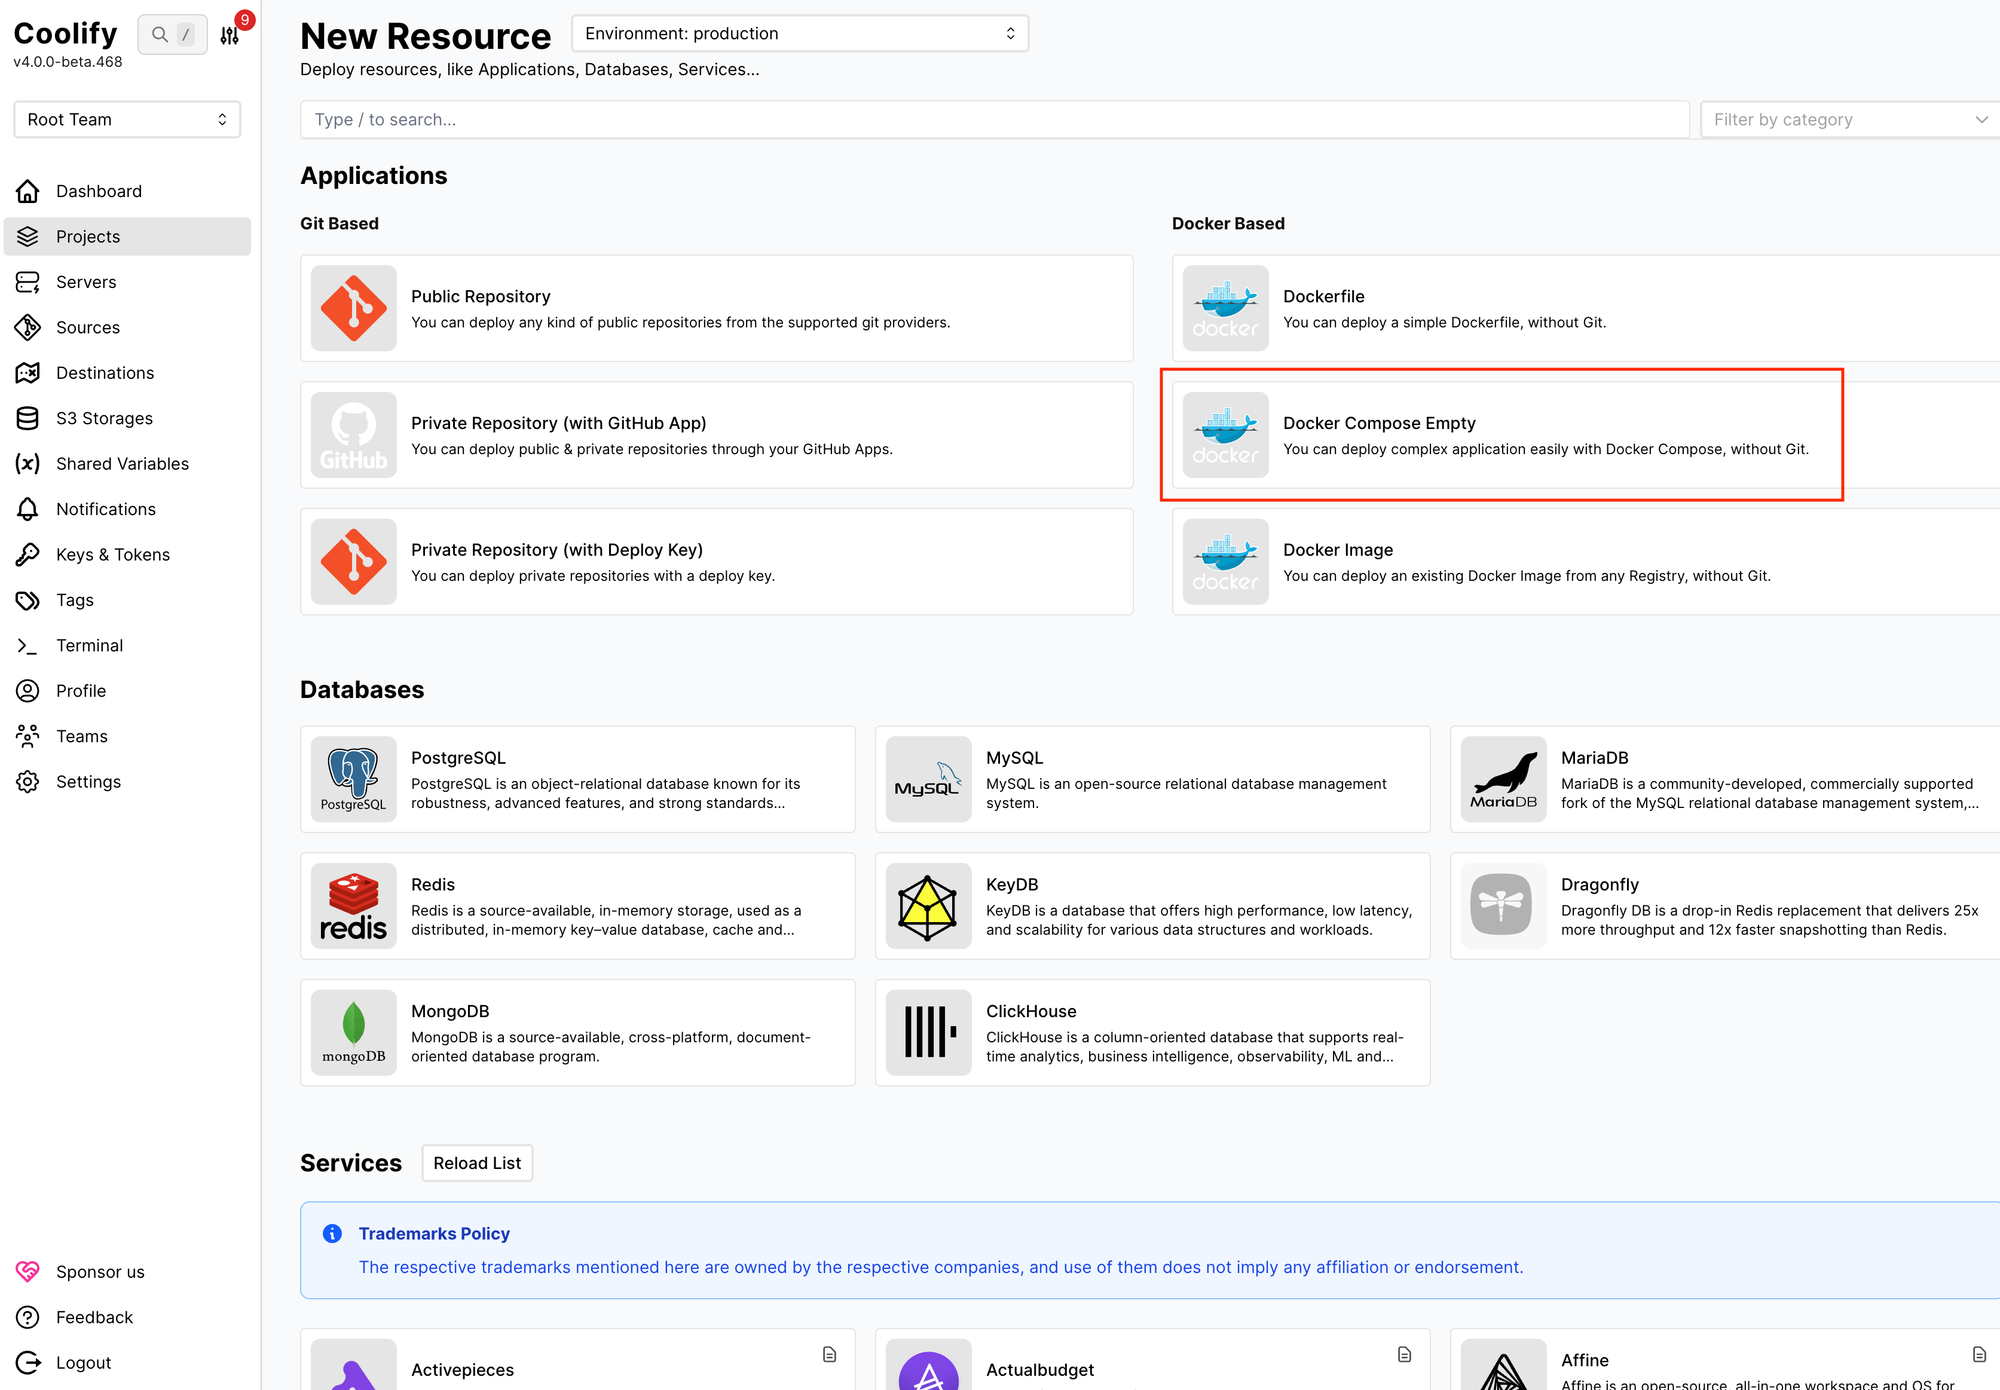
SerpBear provides Docker Compose configuration which Coolify supports. Since SerpBear uses SQLite to save SERP data, it's not necessary to spin up process-based databases and the Compose file is relatively simple:
services:
  app:
    image: towfiqi/serpbear:latest
    # Build from source instead of pulling the image:
    # build: .
    restart: unless-stopped
    ports:
      - "${PORT:-3000}:3000"
    environment:
      - USER_NAME=${USER:-admin}
      - PASSWORD=${PASSWORD}
      - SECRET=${SECRET}
      - APIKEY=${APIKEY}
      - SESSION_DURATION=${SESSION_DURATION:-24}
      - NEXT_PUBLIC_APP_URL=${NEXT_PUBLIC_APP_URL:-http://localhost:3000}
      # Optional: Google Search Console integration
      - SEARCH_CONSOLE_CLIENT_EMAIL=${SEARCH_CONSOLE_CLIENT_EMAIL:-}
      - SEARCH_CONSOLE_PRIVATE_KEY=${SEARCH_CONSOLE_PRIVATE_KEY:-}
    volumes:
      - serpbear_data:/app/data
    healthcheck:
      test: ["CMD-SHELL", "wget -qO- http://localhost:3000 || exit 1"]
      interval: 30s
      timeout: 10s
      retries: 3
      start_period: 15s

volumes:
  serpbear_data:
The SerpBear service definition includes the official Docker image, container restart policy, ports, environment variables, volumes, and health check. The official guide suggests using the latest image (towfiqi/serpbear:latest) which will let you update the application with Redeploy at any later point, but you can choose a stable release to lock-in a particular version.
The required environment variables reference variables like {USER:-admin} and {SECRET} which let us manage the environment directly from the Coolify admin interface. Notice that SerpBear also supports Google Search Console, so if you can obtain these credentials as well. Finally notice the serpbear_data volume which is the future location of your SerpBear database.
Paste the configuration above. Click Save.
Adding the new resource should take you to the resource configuration. Under General we can change the resource name, under Persistent Storages we can check our persistent volume, and finally under Environment Variables we can go fill up the variables from the Compose file:

Here's the list of environment variables we should fill in:
USER_NAME: The username you want to use to login to the app.PASSWORD: The password you want to use to log in to the app.SECRET: A secret key that will be used for encrypting 3rd party API keys & passwords.APIKEY: API key that will be used to access the app's API. This is not SerpApi account key!SESSION_DURATION: The duration(in hours) of the user's logged-in session.NEXT_PUBLIC_APP_URL: The URL where your app is hosted and can be accessed like https://serpbear.example.com
Note that every environment entry has its own Update button and they won't be saved all at once. You can add the Google Search Console credentials if you have them, but they aren't necessary to start tracking your keywords with SerpApi.
Restart the service.
Tracking keywords with SerpBear
If you carefully followed all the steps, you should be now able to access the SerpBear instance on the (sub)domain of your choosing. Log in using the chosen credentials from the previous step. You should see a red prompt at the top to configure your Scrapper/Proxy. Click on it to open settings, choose SerpApi.com as the Scraping Method and insert your SerpApi API token under Scraper API Key Or Token:
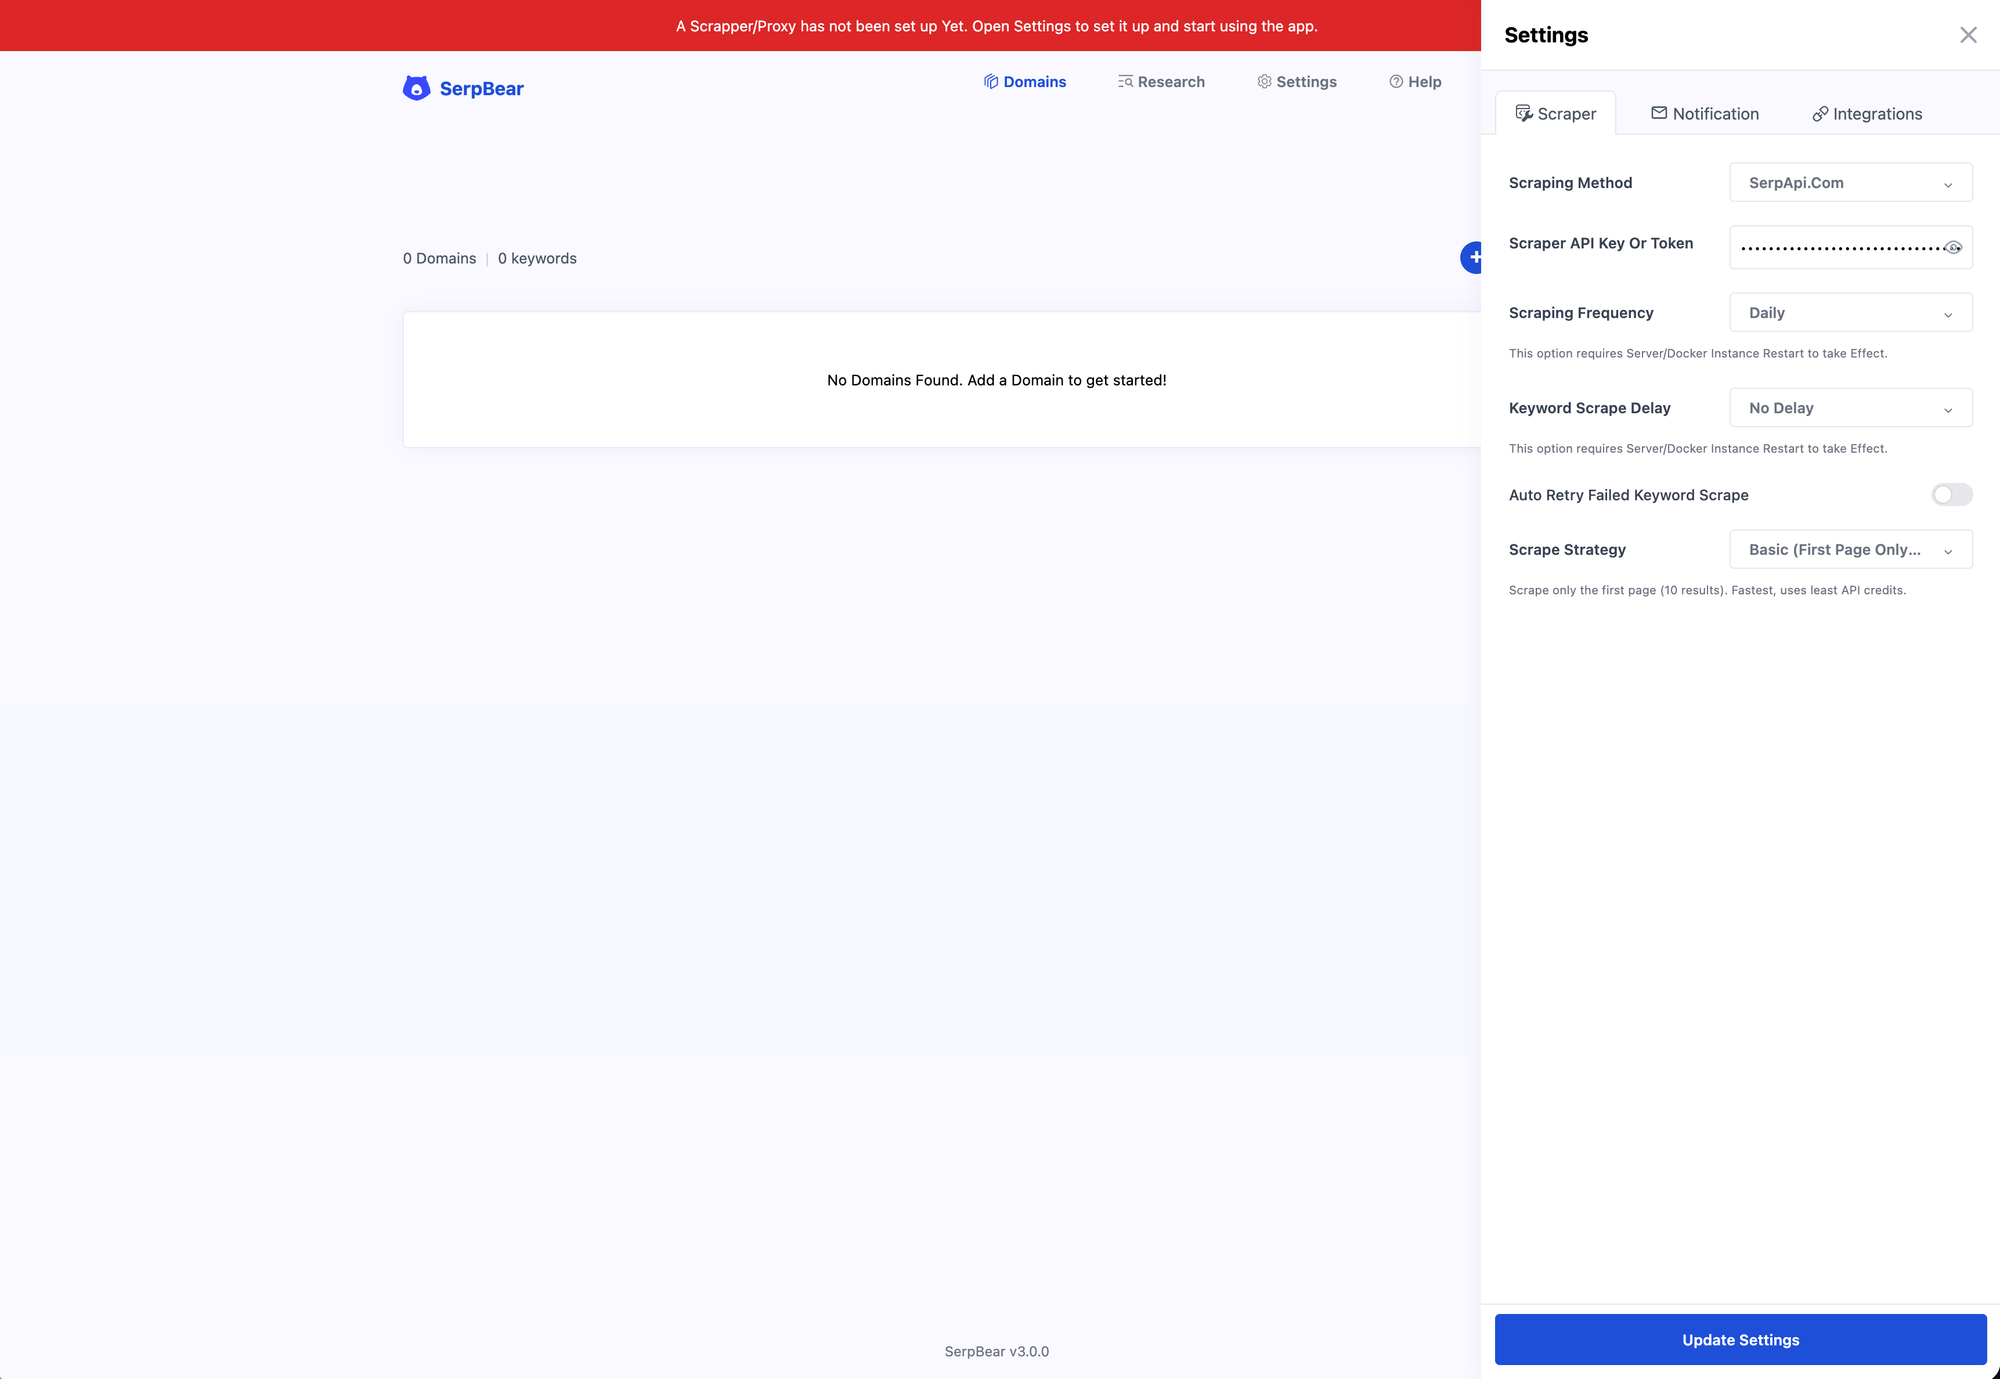
Click Update Settings to close the right sidebar and you'll be ready to add your first keywords to track. Start by adding a domain name. After entering your domain name you should end up on the Tracking tab for the domain.
Click Add Keyword and start adding keywords and phrases you care about. They should appear in a nice table with their last position, best position, history graph, volume, and URL. Here's an example of tracking "serp api" for serpapi.com in the Czech Republic:
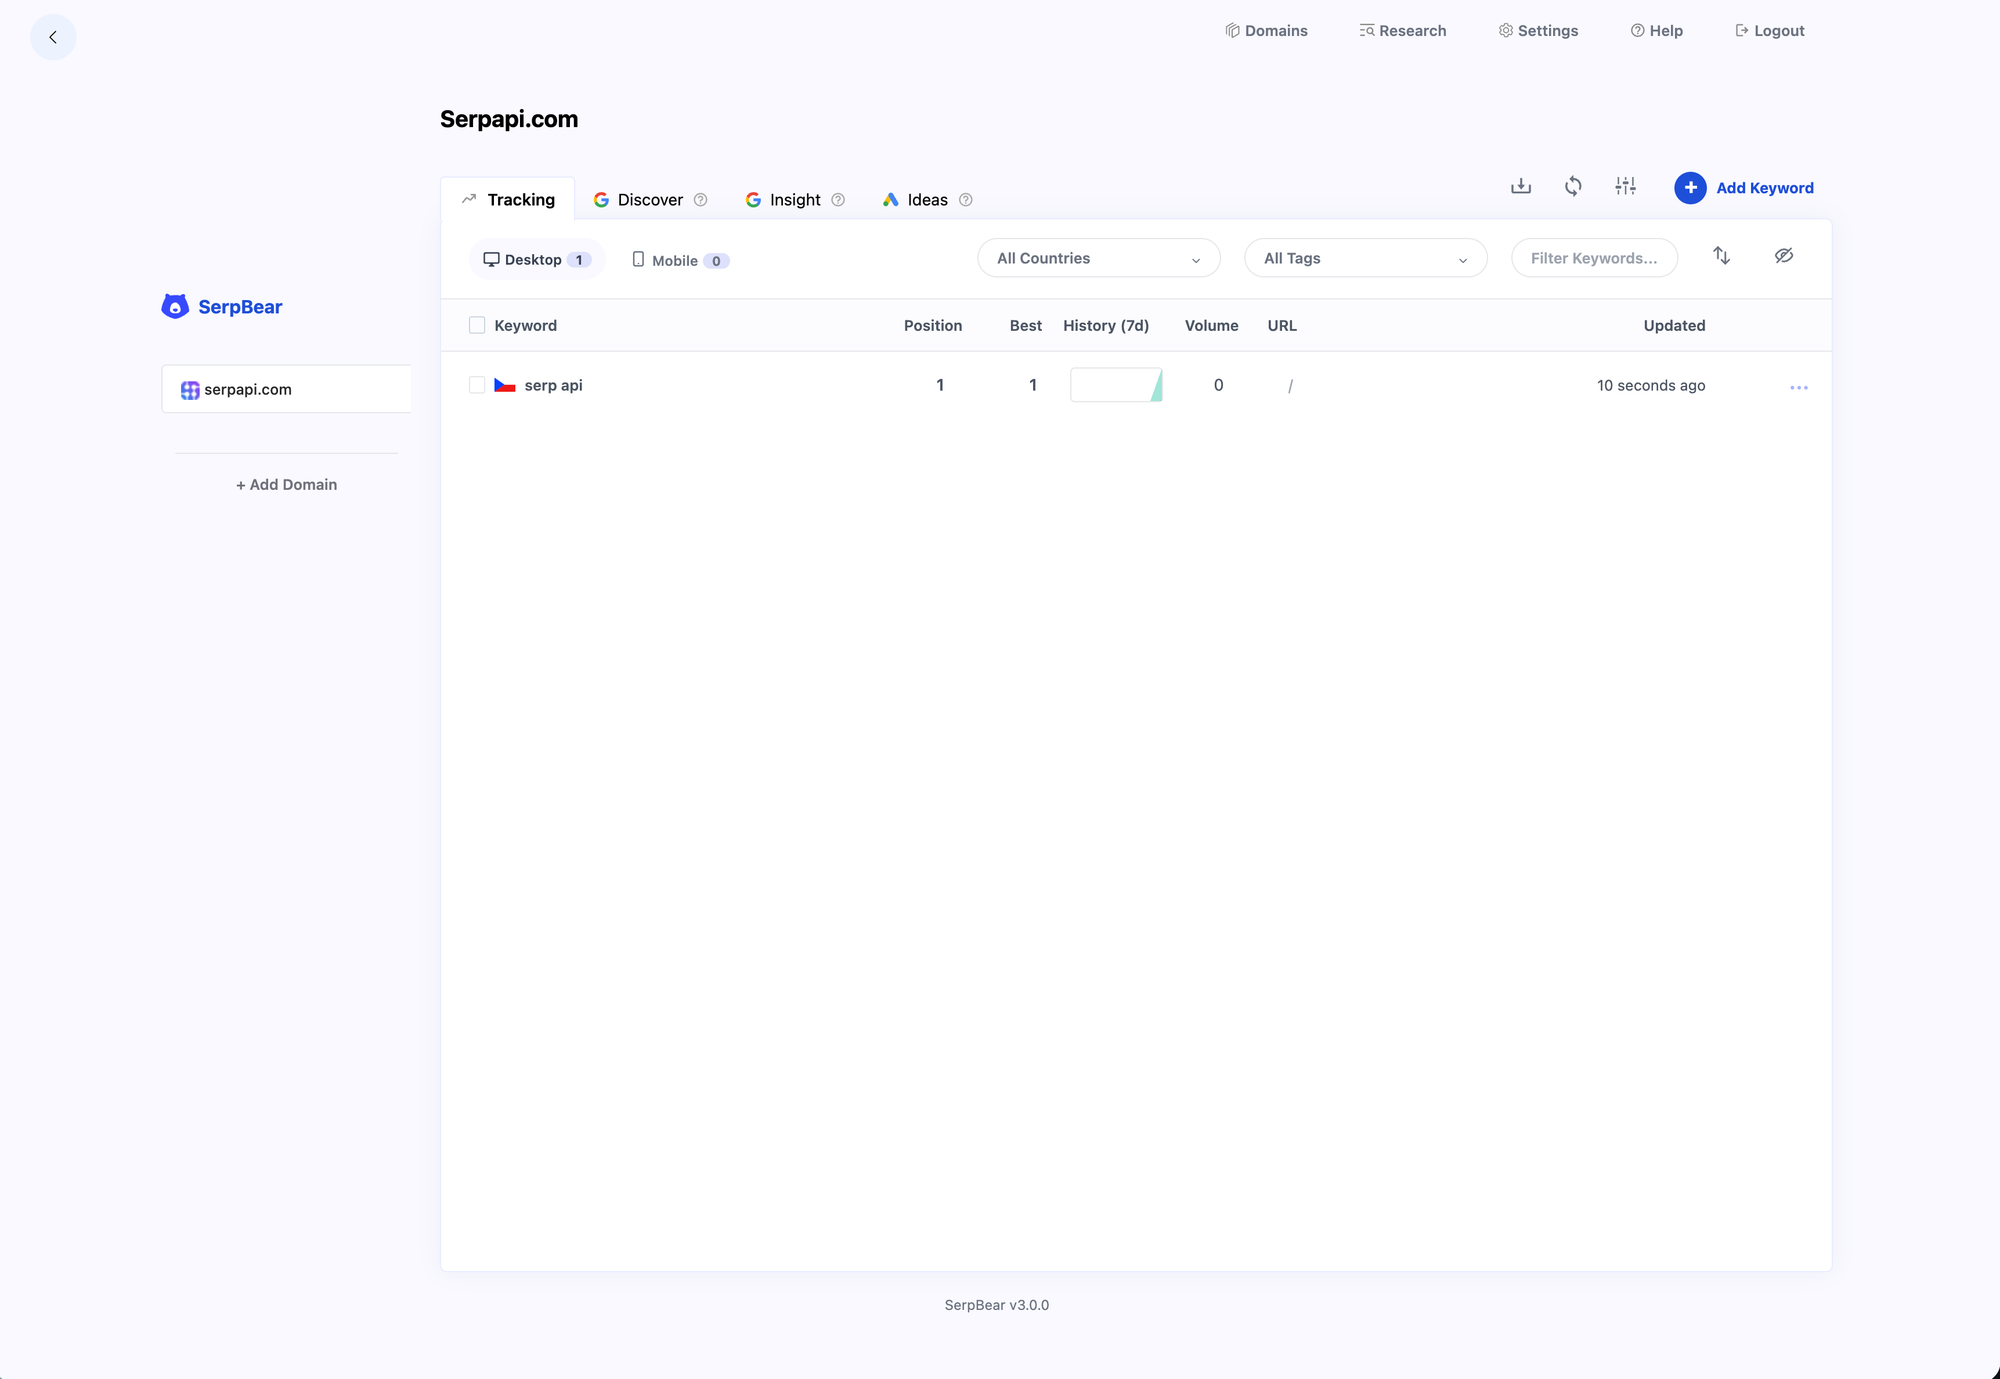
And that's it! You can now add as many domains and keywords as you want to. Remember that SEO today is not just about tracking organic results in Google, so have a look at AI overviews as well.
Next steps
As next steps you can consider adding your Google Search Console data to SerpBear, handle external backups in Coolify, or exploring more of SerpApi. The Free tier comes with 250 free searches per month.