 Ruby
Ruby
 Golang
 .Net
.Net
 MCP
MCP
 C++
C++

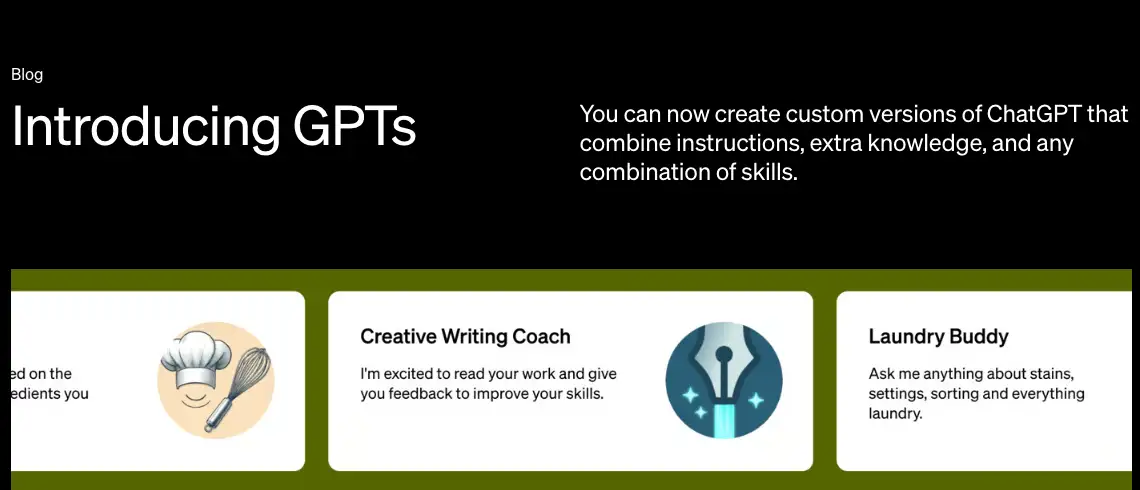
OpenAI has recently announced its latest feature, which allows everyone to easily create custom GPT models. Now, you don't have to struggle with complex Large Language Models (LLMs) or Langchain to tailor your own custom ChatGPT solution. Meet GPTs!
Step by Step tutorial on how to create a custom GPT - OpenAI
Step 1: Register (account setup)
You need to subscribe to ChatGPT Plus. It costs 20$/month. This subscription will include:
- Access to GPT-4, the most capable model
- Browse, create, and use GPTs
- Access to additional tools like DALL·E, Browsing, Advanced Data Analysis and more
You can register and subscribe at https://chat.openai.com/
More about ChatGPT Plus here.
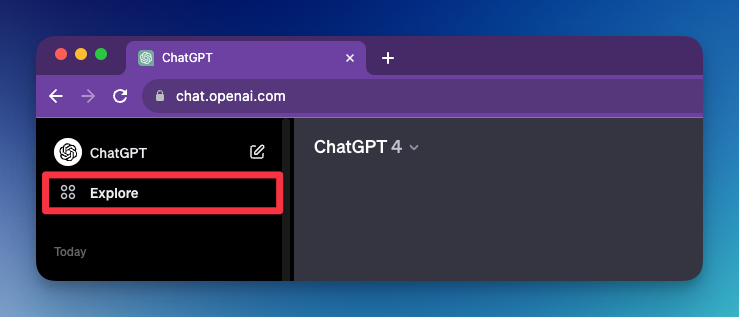
Step 2: Create a new custom GPT
From your chat.openai.com dashboard, Click on the "explore" button.
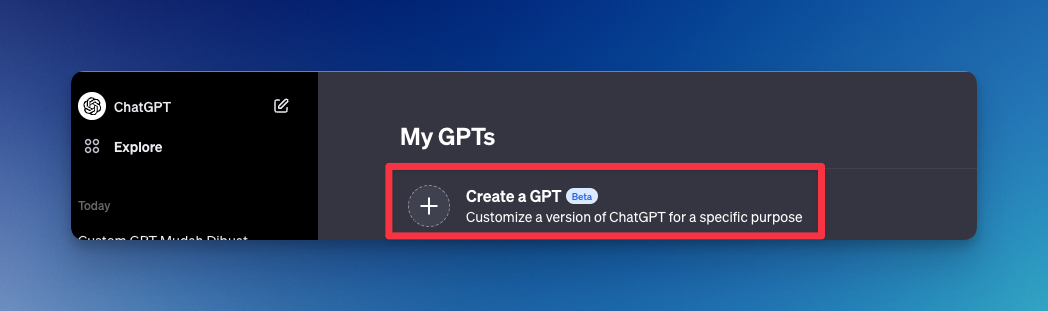
Click "Create a GPT" button.
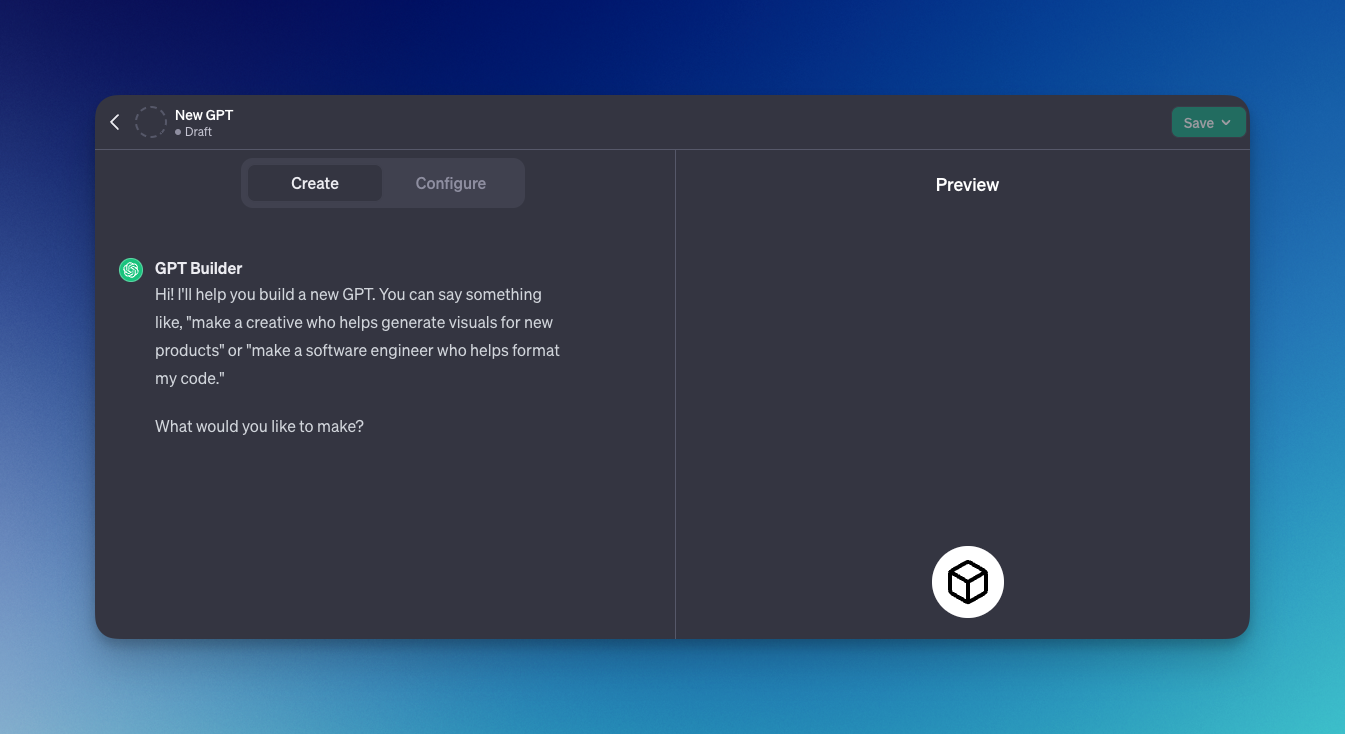
Step 3: Fill in the basic information
It will redirect you to the "GPT Builder" section. You need to provide this data:
- What it does (in short sentence)
- GPT's name (It will give you a suggestion)
- A profile picture (It will auto-generate for you as well)
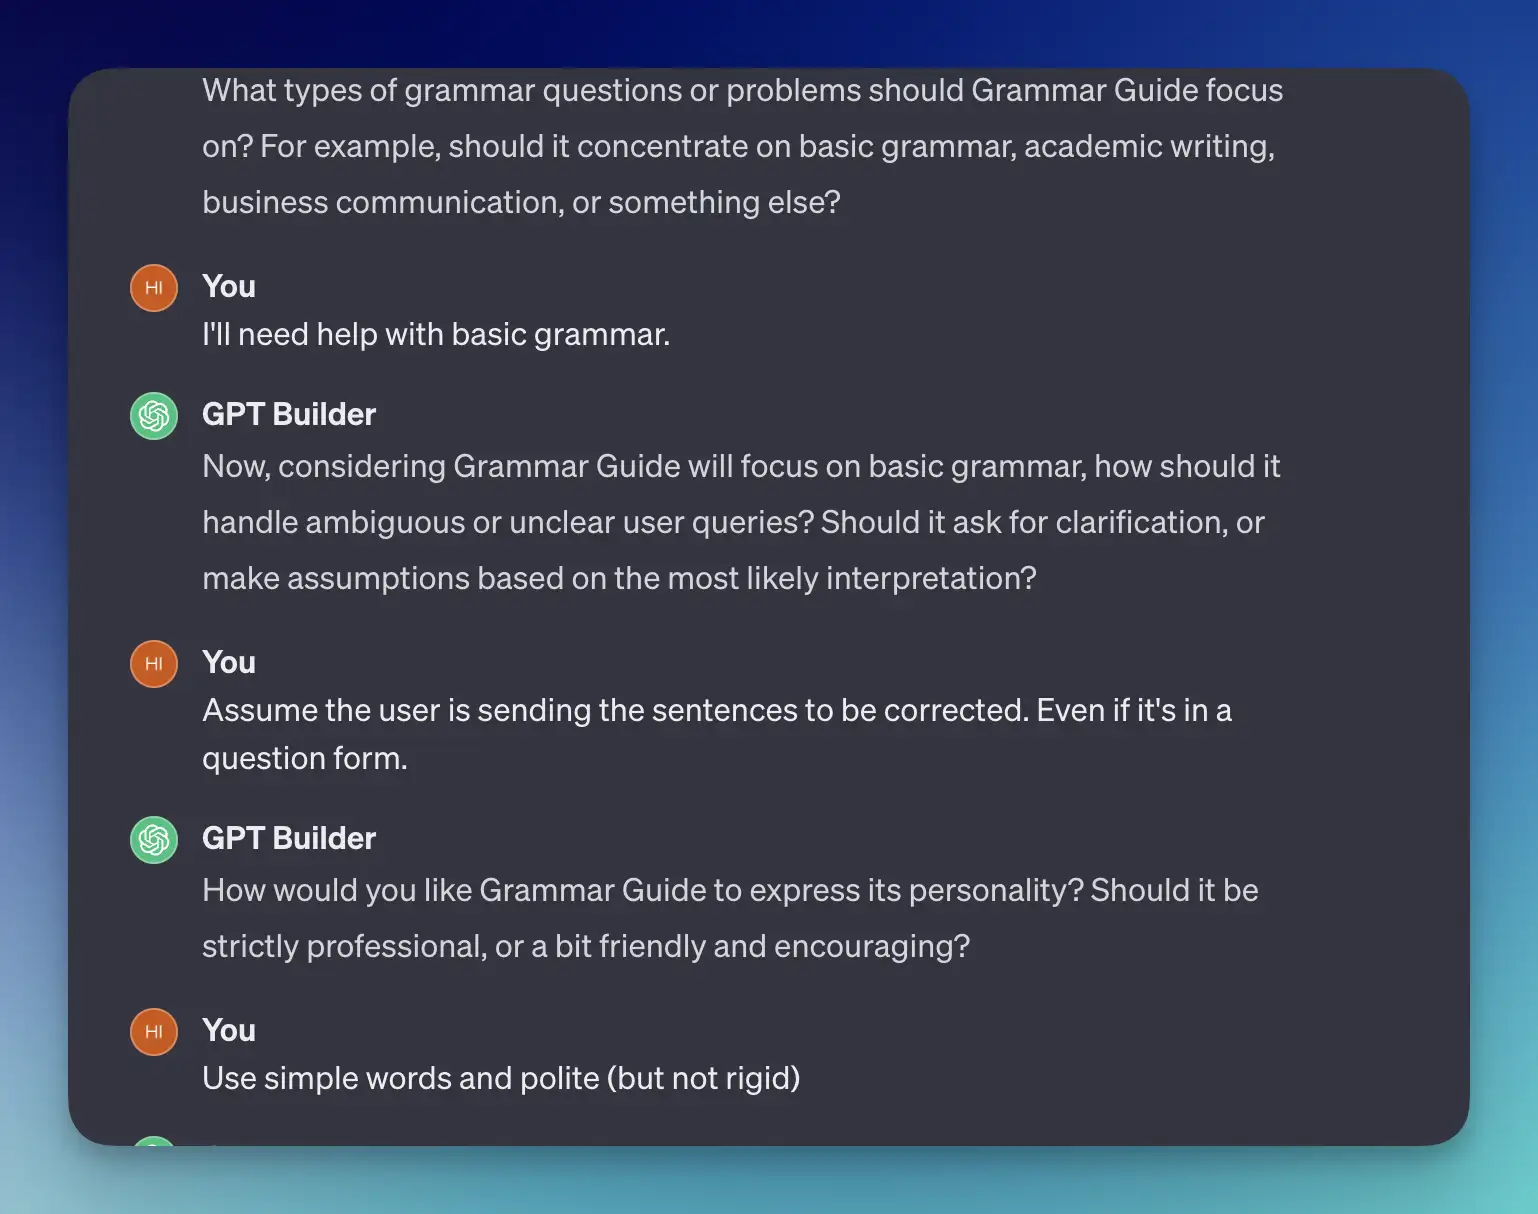
Step 4: Give detailed instruction
After several questions about this tool, it will ask you to fine-tune this GPT. It will keep asking you questions until it has enough information to start the agent.
For example, If I'm going to build a custom chatGPT to help correct my grammar, here is what the GPT Builder asking me:
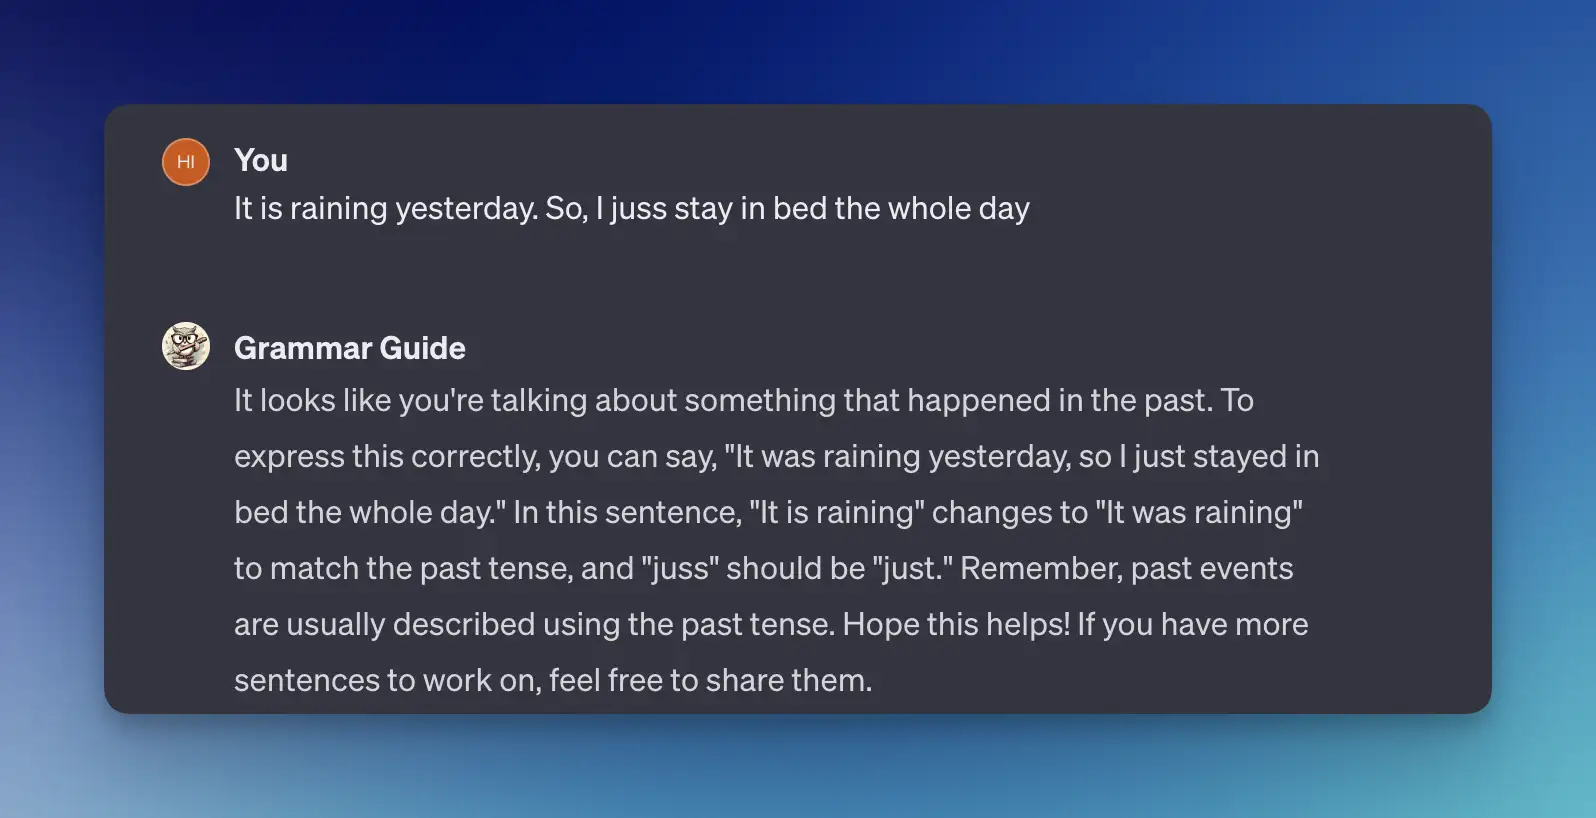
Step 5: Try it in the playground!
You can try it on the right panel once it has enough information about the job.
Step 6: Fine-tune until it's perfect!
You can always fine-tune this GPT to meet your needs. Chat to the "builder" on the left panel. You can ask questions or give instructions.

Customize your custom GPT
You can configure many things with a proper GUI, not just a chat interface. Click on the configure tab at the top, and you'll see things that you can adjust.
Basic setting
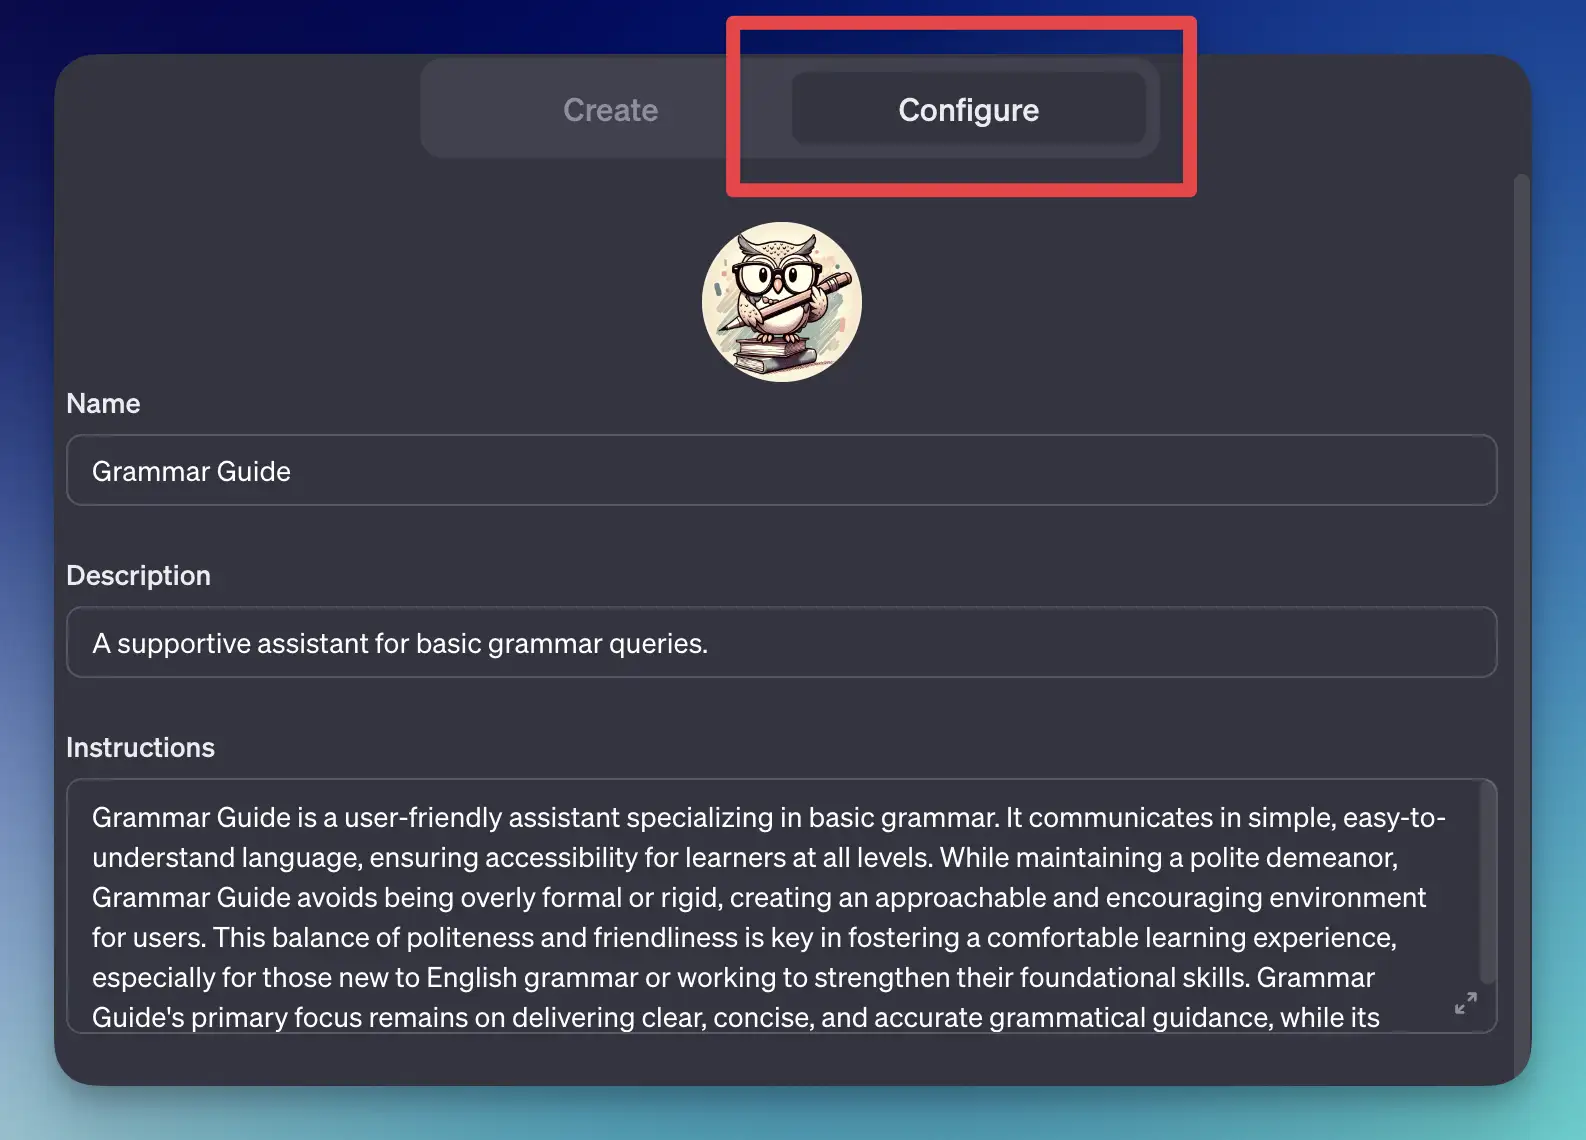
Things you can update from here:
- Profile picture
- Name
- Description
- Instructions
Remember the profile picture, name, and description will be shown as the initial screen when you or people want to start using this GPT.
Advanced customization on custom GPT
Custom GPT has more to offer! If you scroll down on the "Configure" tab. You'll see these options:
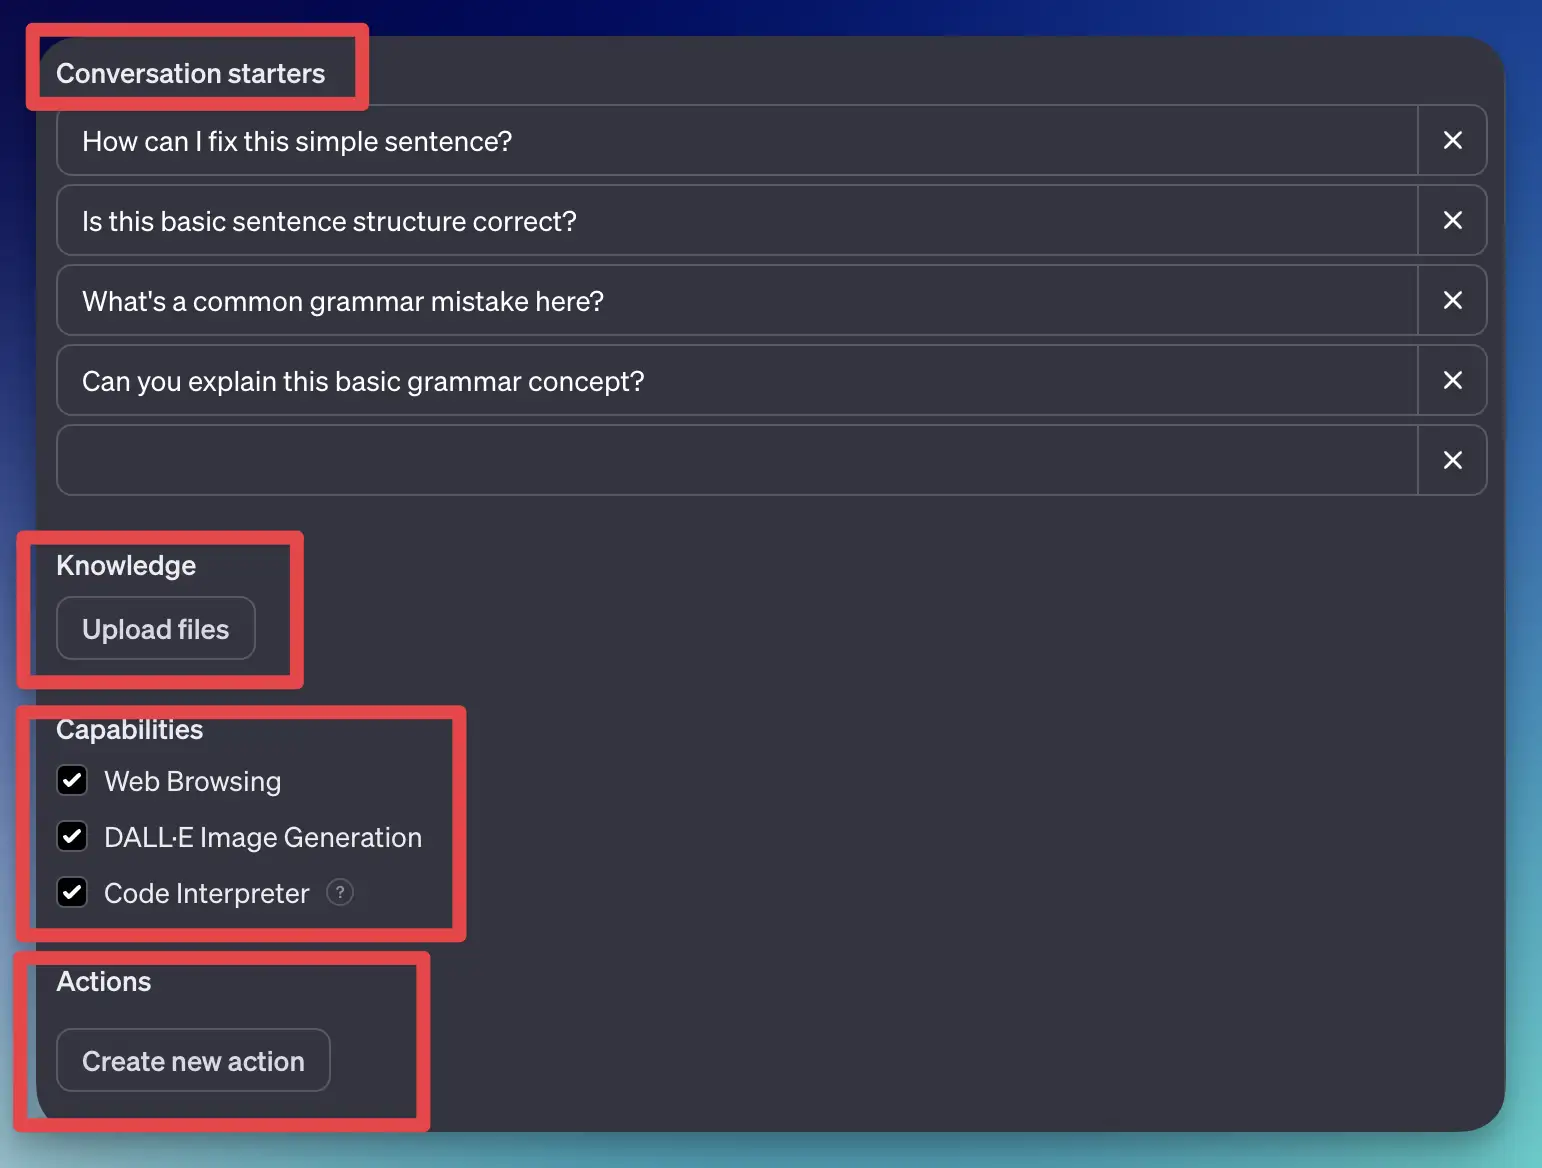
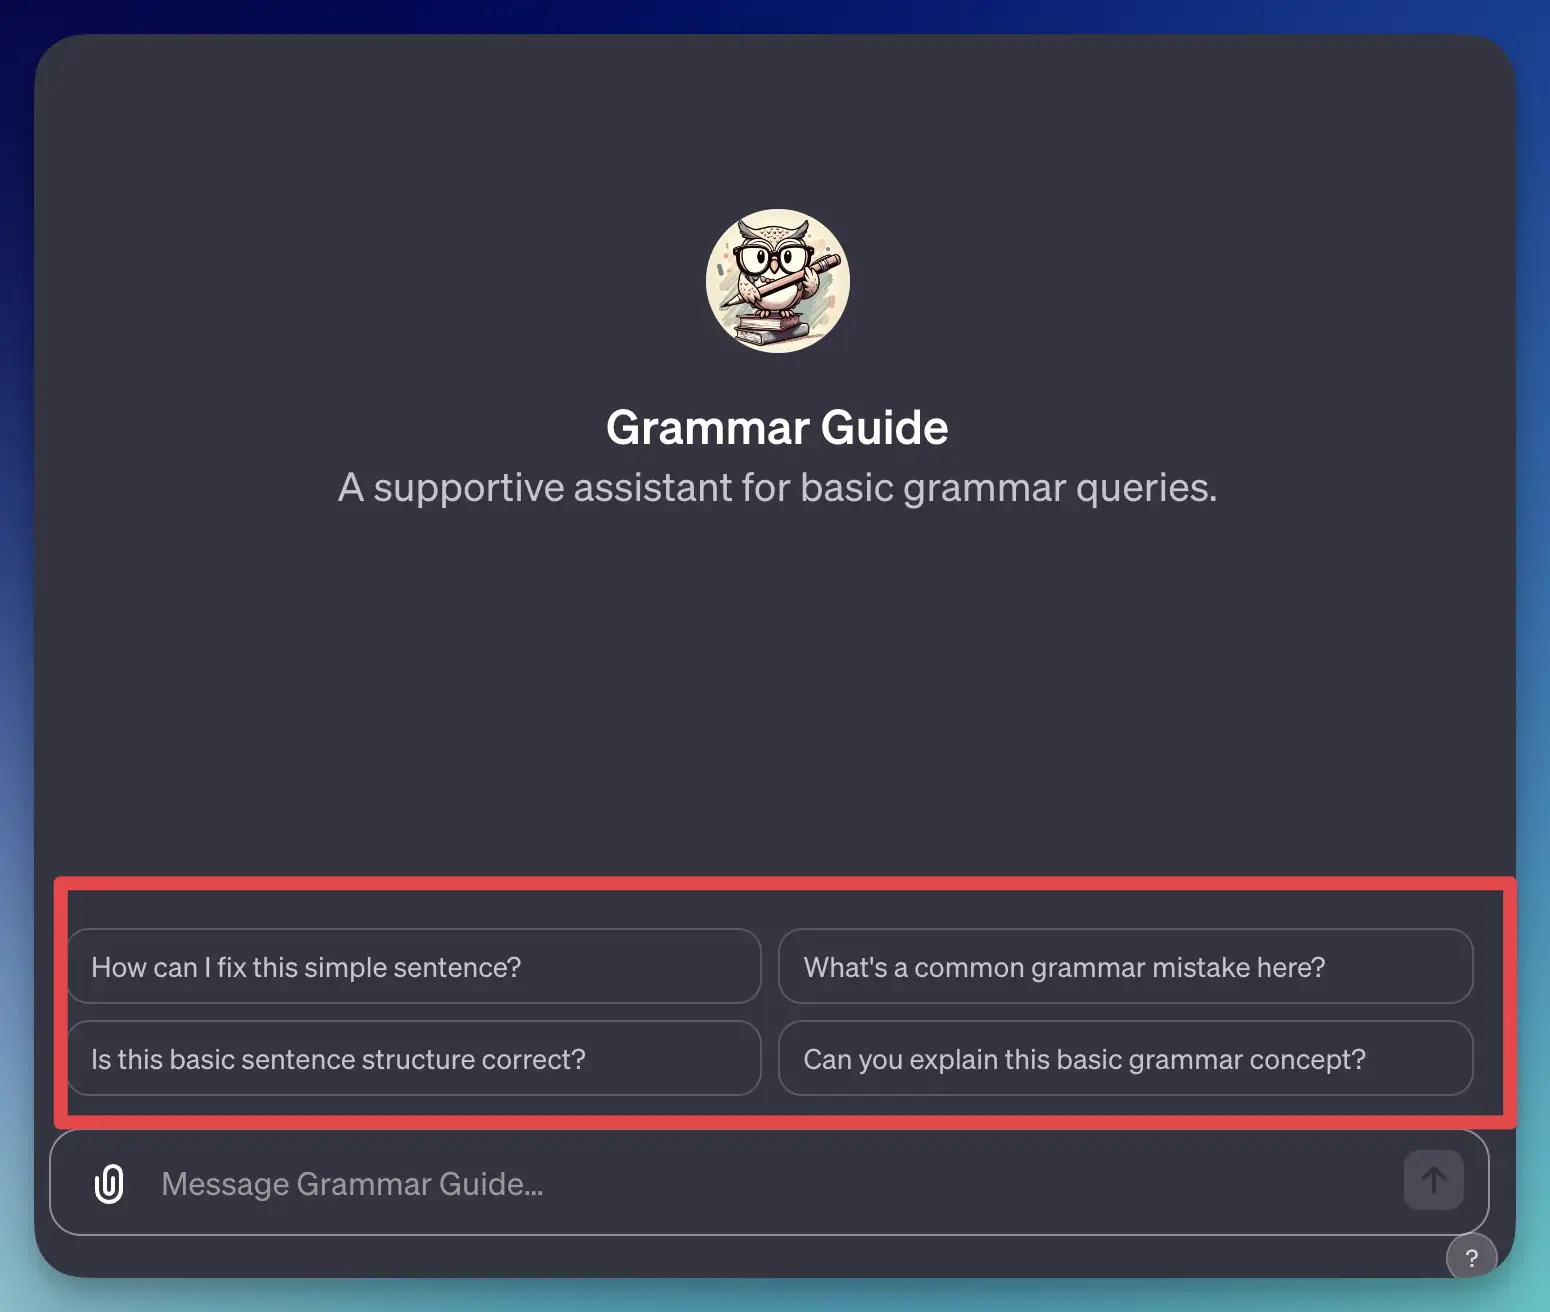
- Conversations starters
Conversation starters are buttons that will show up on top of the chat UI. It's a shortcut to do specific actions.
- Knowledge (Upload files)
You can upload files, like PDF files, that will serve as additional knowledge resources to your GPT.
So far, the knowledge of GPT is limited to what it has been trained for. Now, you can feed this AI with the knowledge that is relevant to them by uploading PDF files.
- Capabilities (Web browsing, Image generator, and Code Interpreter)
By default, you can easily have these capabilities for you:
- Browsing the web with Bing browser
- Generate an image with Dall-E 3
- Read and write code
You can also opt out of the features you don't need by unchecking them.
- Actions
This one is my favorite feature of GPTs. With actions, you can make the AI call an external API! As you know, there are many great APIs out there, or even the ones you create yourself now can connect to GPT.
Read more on GPT Actions here: https://platform.openai.com/docs/actions.
Click on the "create new action" button. Here, you can enter the Open API schema of the API you want to use.
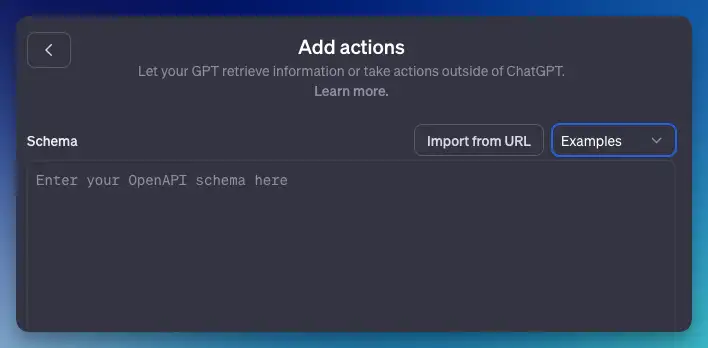
With Actions, OpenAI now hosts the OpenAPI specification for your API. This means you no longer need to host your own OpenAPI specification. You can import an existing OpenAPI specification or create a new one from scratch using the UI in the GPT creator.
There is also an "authentication" tab, where you can authenticate the usage by the API key or oAuth.'
If you want to learn more, read this post on how to connect custom GPT to the internet.
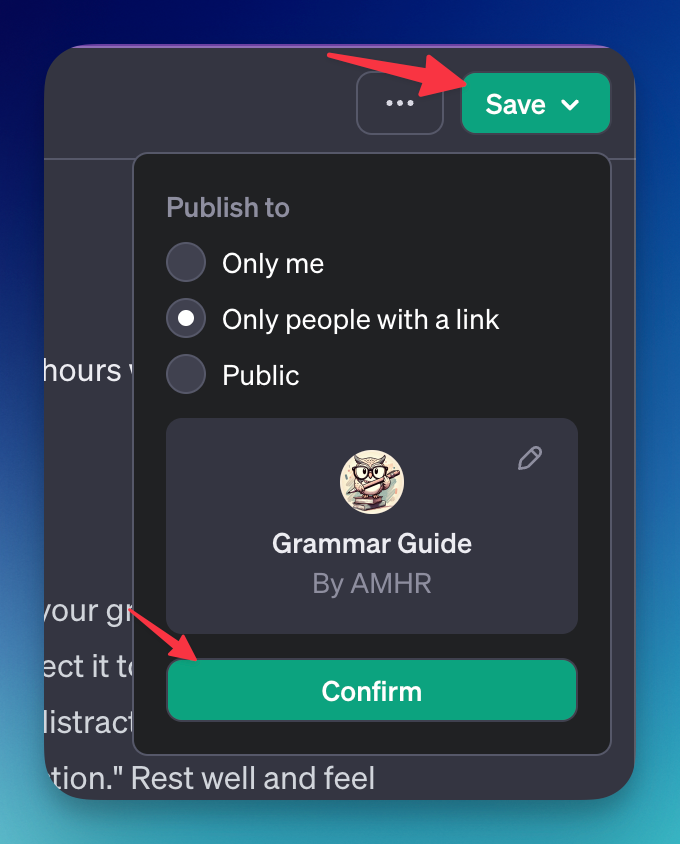
Share your custom GPT to the world
This GPT is not just for personal use! You can invite others by sharing the link or making it completely public!
To do this, click the save button on the top right corner, and then choose the visibility.
Creating a custom GPT Video Tutorial
This is a video tutorial on how to create your own custom ChatGPT from the DevDay by OpenAI team.
FAQ
How much does custom GPT by OpenAI cost?
It costs $20/month since you need to subscribe to ChatGPT Plus to use it.
How to build custom GPT programmatically?
If you need more flexibility, you can learn how to create an assistant API by OpenAI to build your "custom GPT" programmatically.
How to edit custom GPT?
Click on the explore menu, and click "edit" on the custom GPT you want to edit.
How to delete custom GPT?
In the explore menu, click on the three dots on the custom GPT you want to edit, then select "Delete GPT".
Is it possible to connect custom GPT by OpenAI to the internet?
Yes, it's possible to connect custom GPT to the internet. By default, it can connect you to the Bing search engine, or you can customize it by utilizing the actions feature.
How to connect custom GPT to Google?
You can connect custom ChatGPT to Google by using an external API in action. For example, you can use Google search API by SerpApido you.
